| |

Adobe Dreamweaver Tutorial
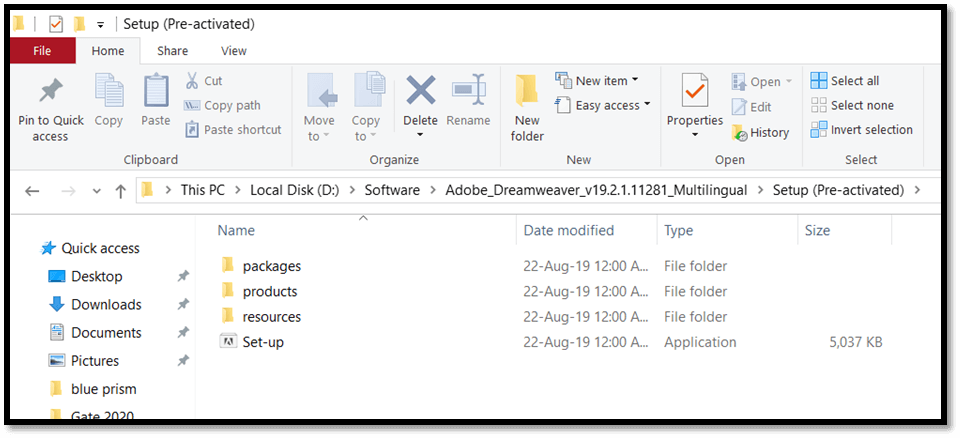
Adobe Dreamweaver is a software for designing web pages. These HTML web pages are fully featured. This software provides a WYSIWYG i.e., What You See Is What You Get interface for creating and editing the web pages. The Adobe Dreamweaver software supports many markup languages like HTML, XML, CSS, and JavaScript. It supports English, Spanish, French, German, Japanese, Chinese, etc.... The Dreamweaver was developed by Macromedia, and it was published in 1997. In 2005 the Adobe had purchased Dreamweaver and name it as Adobe Dreamweaver. Features of Adobe Dreamweaver1. Fast, flexible coding. Creating, coding, and managing the websites becomes very easy because of the simplified coding engine. Using this software, HTML, CSS, and other web standards can be quickly learned. It speeds up the development of the web site. 2. Setup to site up in fewer steps. It becomes very easy to set up a web site, and starter templates can be run very fast. Templates can be customized for email, About pages, blogs, e-commerce pages, newsletters, and portfolios. For reading codes, code coloring and visual hints can be used for quickly editing and updating. 3. Dynamic display on every device. Using Adobe Dreamweaver responsive websites can build that can be fit into any screen size. This helps in previewing sites and editing makes sure that the page looks and works the same way that you want. Below are some of the latest updates 1. Multi-monitor support for Windows The workspace can be expended by displaying web pages on multiple monitors. 2. CEF integration The latest version of the Chromium Embedded Framework is integrated with Dreamweaver. So now, web pages can be built using HTML5 websites and elements can be display, CSS grids, and many more. 3. Redesigned, modern UI For customization of workspace Streamlined and the clutter-free interface can be used. It displays the tools which need to be coded. 4. Git support Collaboration is very easy using Git support. From the Git panel, all the source code can be managed within Dreamweaver, and all the common operations can be performed New features in Adobe Dreamweaver CC 2019 1. CEF updates The latest version of the Chromium Embedded Framework is integrated with Dreamweaver. Designers and developers can build Websites and display Flexbox elements, CSS grids and many more. 2. ES6 support For a quick listing of classes, methods, arrow function and generated functions, EcmaScript 6 is supported in Dreamweaver. ES6 code can be used for working with the latest JavaScript updates. 3. JavaScript refactoring JavaScript codes can be organized using features like rename and refactor. Following are the Pros of Adobe Dreamweaver 1. For quick scanning, it can highlight the code. It helps in determining where is CSS, PHP, JavaScript, or HTML code is to be placed. For creating a dynamic page, this feature is very useful. 2. Helps beginners to understand the coding for a website. The color-coding feature of highlighting helps beginners very much as it can display what a specific command can do for template and pages. By this, the learning process becomes very easy. 3. code suggestions for the user. It is a very important benefit for beginners while coding. If the user is confused about what to do with an image, a font, or a color, then the Adobe Dreamweaver will auto-fill the suggestions directly with a drop-down menu in the code. Select your choice, which suits your websites and create a code. It is very easy. 4. User needs to switch screens. The real-time results of the program can be seen by the users. Many programs do not allow this feature of viewing page in real-time on the same screen. In Adobo Dreamweaver coding and the designing view is on the same screen, on top is the designing view and on the bottom of the coding area. 5. The code of the developer is instantly checked. For a beginner, it is very important to build a correct and valid in the starting phase. When coding is done in a traditional manner, then accessibility issues and mistakes in the code can occur. Adobe Dreamweaver highlights the mistakes and shows all the issues and also check all accessibility. 6. Using word processing variations in content creation becomes easy. In Microsoft Office, if you want to bold a text, then you just press Ctrl+B. In Adobe Dreamweaver for bolding a text, you need to highlight the text and then a word processor heads-up display which helps in creating fast changes in the highlighted section. 7. Finding and replacing items becomes easy in the created site. In Adobe Dreamweaver, a user can find and replace items from there content, coding, or in any specific tags using find and replace tool. If any new plugin releases can be updated the code very easily. Thousands of pages can be updated in just a second using this feature. 8. A developer can tab via files like someone tabs via internet sites. The functionality included in Dreamweaver makes the switching between files makes it very easy. Visiting multiple menus using this feature file can be kept ready. This is very beneficial in templates and also in overall design plans. Following are the cons of Adobe Dreamweaver 1. It is not a browser-based IDE. The output of the coding in Adobe Dreamweaver can be different in the browser because the browser will interpret the code in a different way. This becomes a huge disadvantage for the developers because it will not respond in cross-platform. 2. A lot of time is required to learn the interface. When you first start with the adobe Dreamweaver, then you will get dozen of items for accessing. Depending on the file that you will open, 50+ different things can be seen on the screen. For a beginner, it would be very intimidating to start the coding. 3. What you are seeing is not necessary that you will always get. This is a very disadvantage because here design view proves that it is not a browser-based view. For a developer, it becomes difficult for the positioning of items. It is 100% guaranteed that the output will be very disappointed in the browser. 4. There is no specific automatic coding option. The Adobe Dreamweaver was designed to meet the requirements of the users. Because of this, the code becomes very lengthy. The validation of one line takes 15-20 lines of code in adobe Dreamweaver. 5. Global styling is a major issue. If a developer wants to use the properties bar on the text within the old version of Adobe Dreamweaver, then it will add an undefined and not styled document to the coding. In case if you want many dozens of undefined styles, then it will create an issue for styling the website. 6. Pressing enter after completion of a line affects the size. Generally, when we type a line after completion of it, we press the enter key from the keyboard. In Adobe Dreamweaver, when you are writing a line, and after completion of it, you press the enter key, then Dreamweaver will treat it as a paragraph. Also, the text will appear around the image. 7. A lot of additional features by which a user is not familiar. As adobe Dreamweaver is designed for the user to make there work easy, but most of the users find that a lot of features are present which they have never used. Installation of Adobe Dreamweaver 2019Step 1: Click on the setup from the adobe Dreamweaver folder. 
Step 2: Select the language of your preference and the location. By default, the language is English, and the location is the default location. 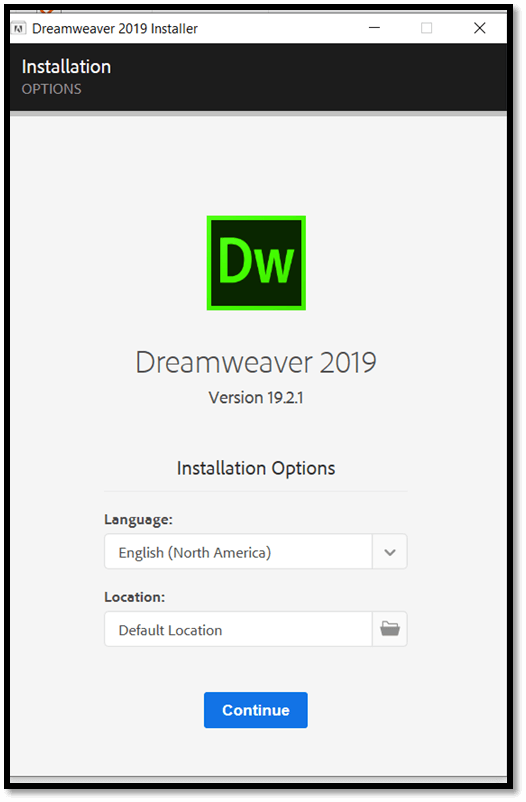
Installation gets started. 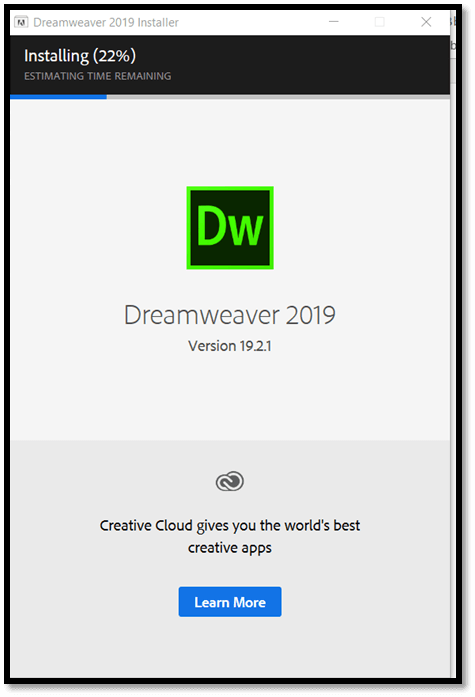
The Dreamweaver 2019 is successfully installed. 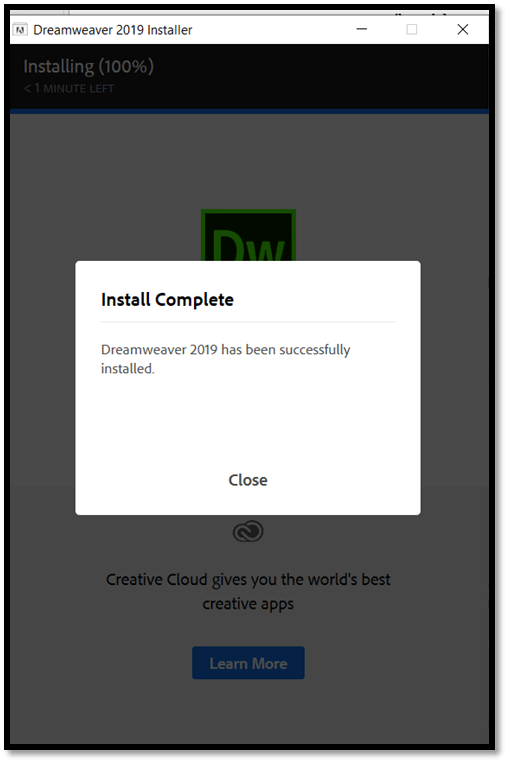
Starting the Adobe Dreamweaver first time after installation Double click on the Adobe Dreamweaver 2019 icon. You will get a screen in which you have to select any one option. Select I'm new if you have never done programming earlier, or if you have done programming before then select, I have option. 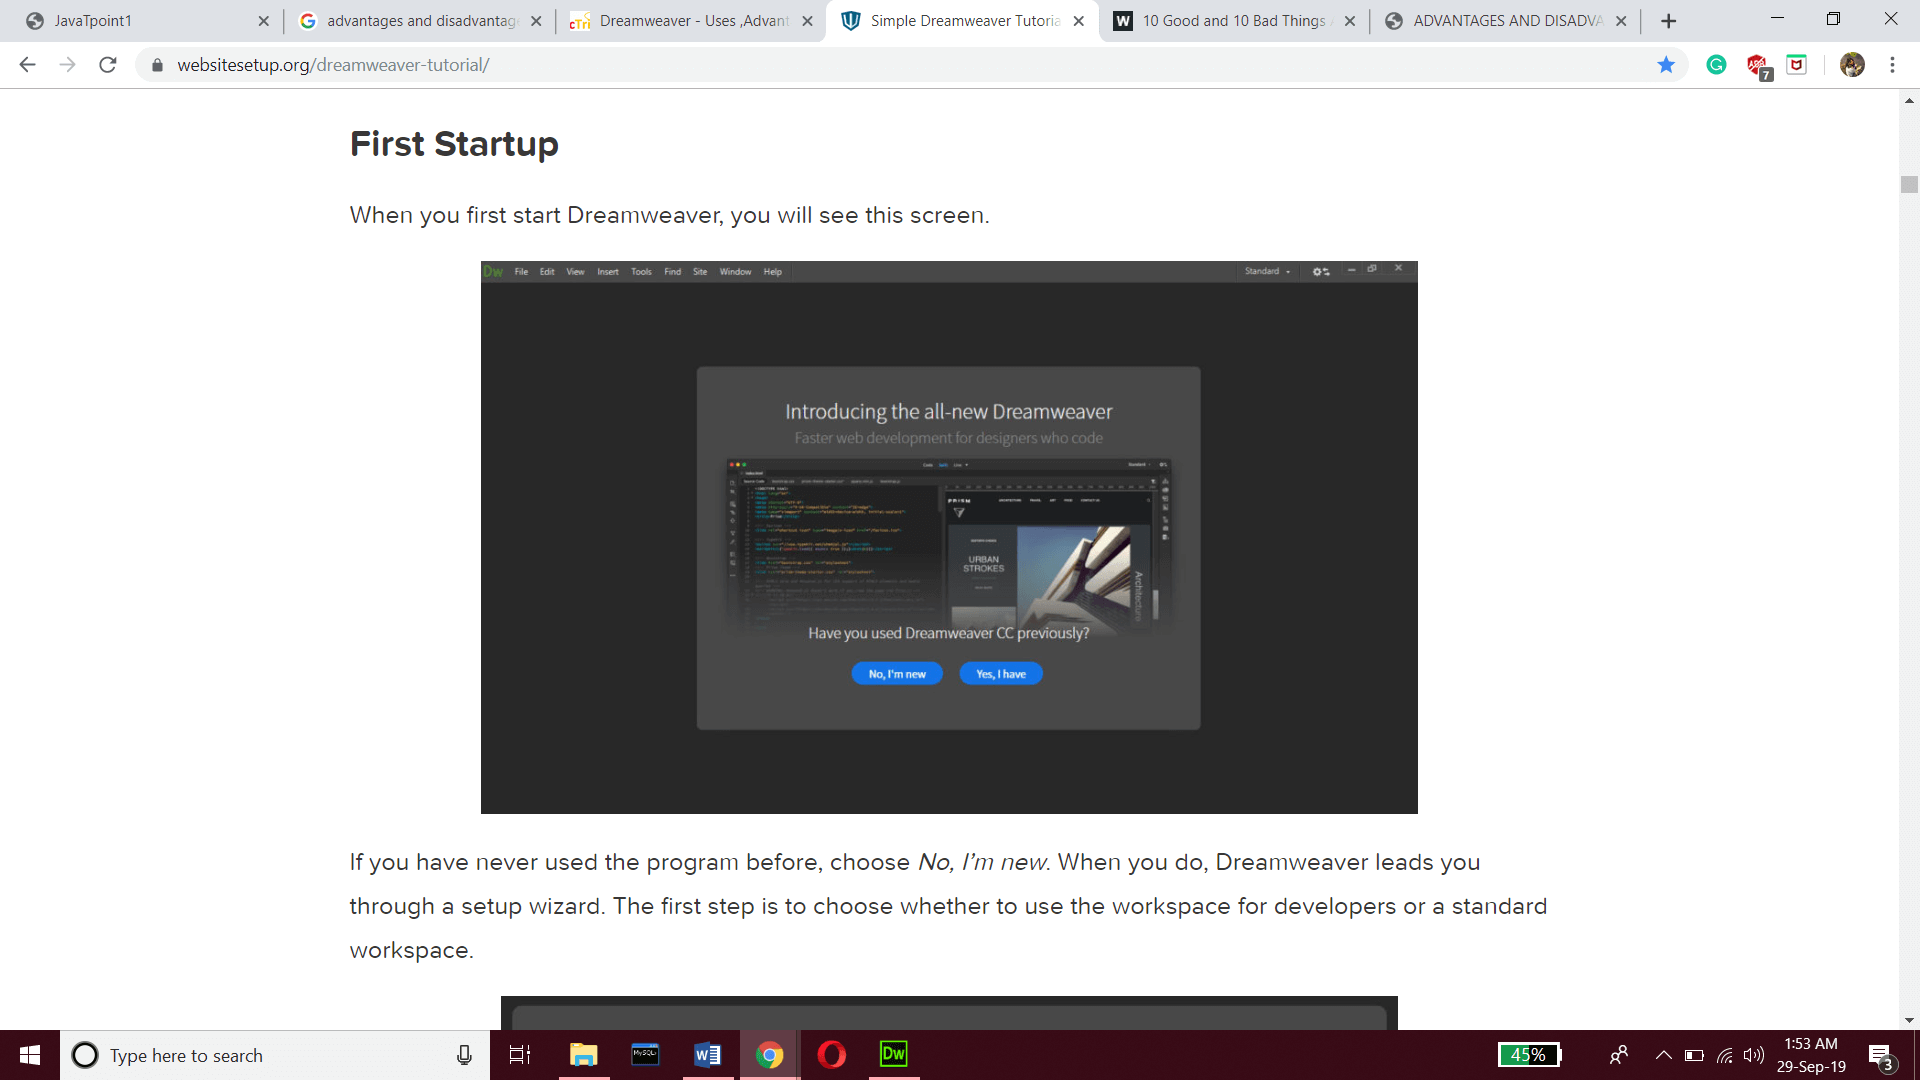
After this for setting up the wizard, choose any one workspace developers or standard workspace. 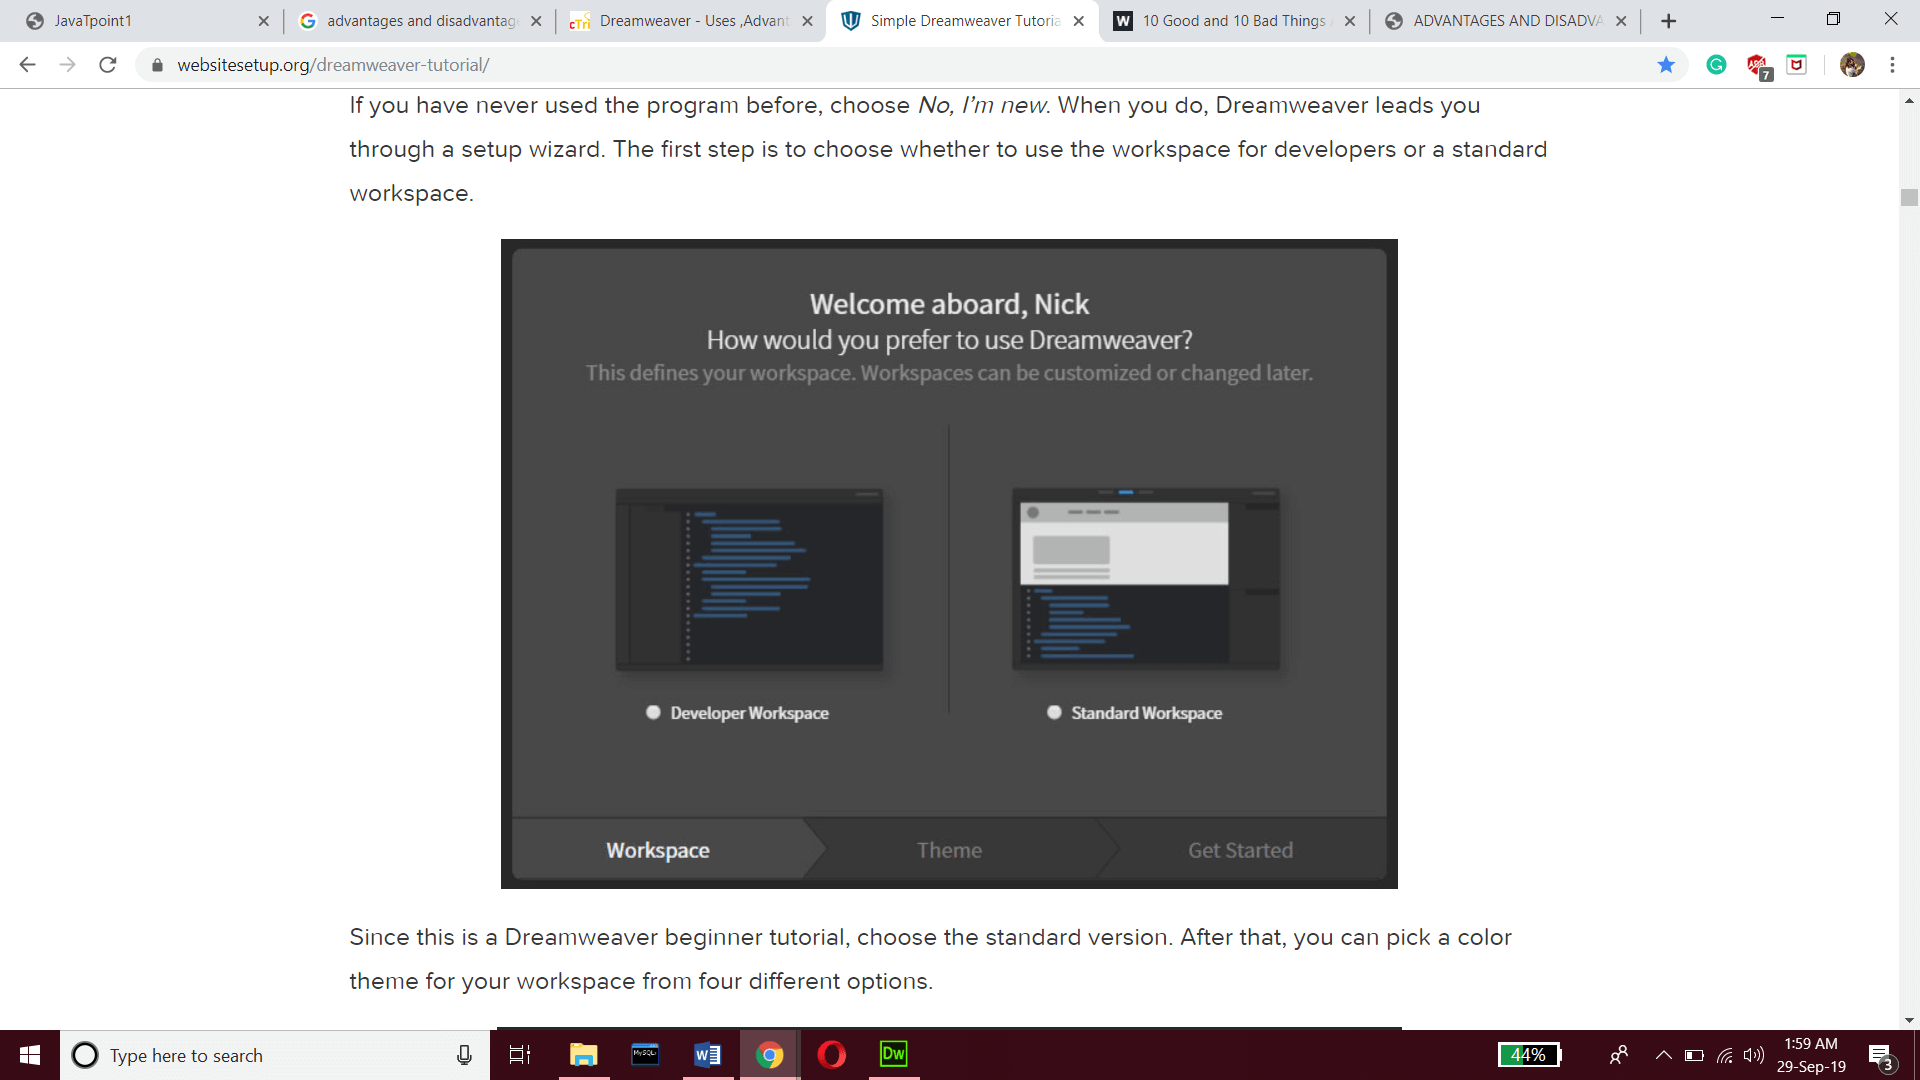
After this pick any one color theme for your workspace. 
The final step is to choose how to start. There are three options present start with a sample file, start with a new or existing folder, or start by watching a tutorial. 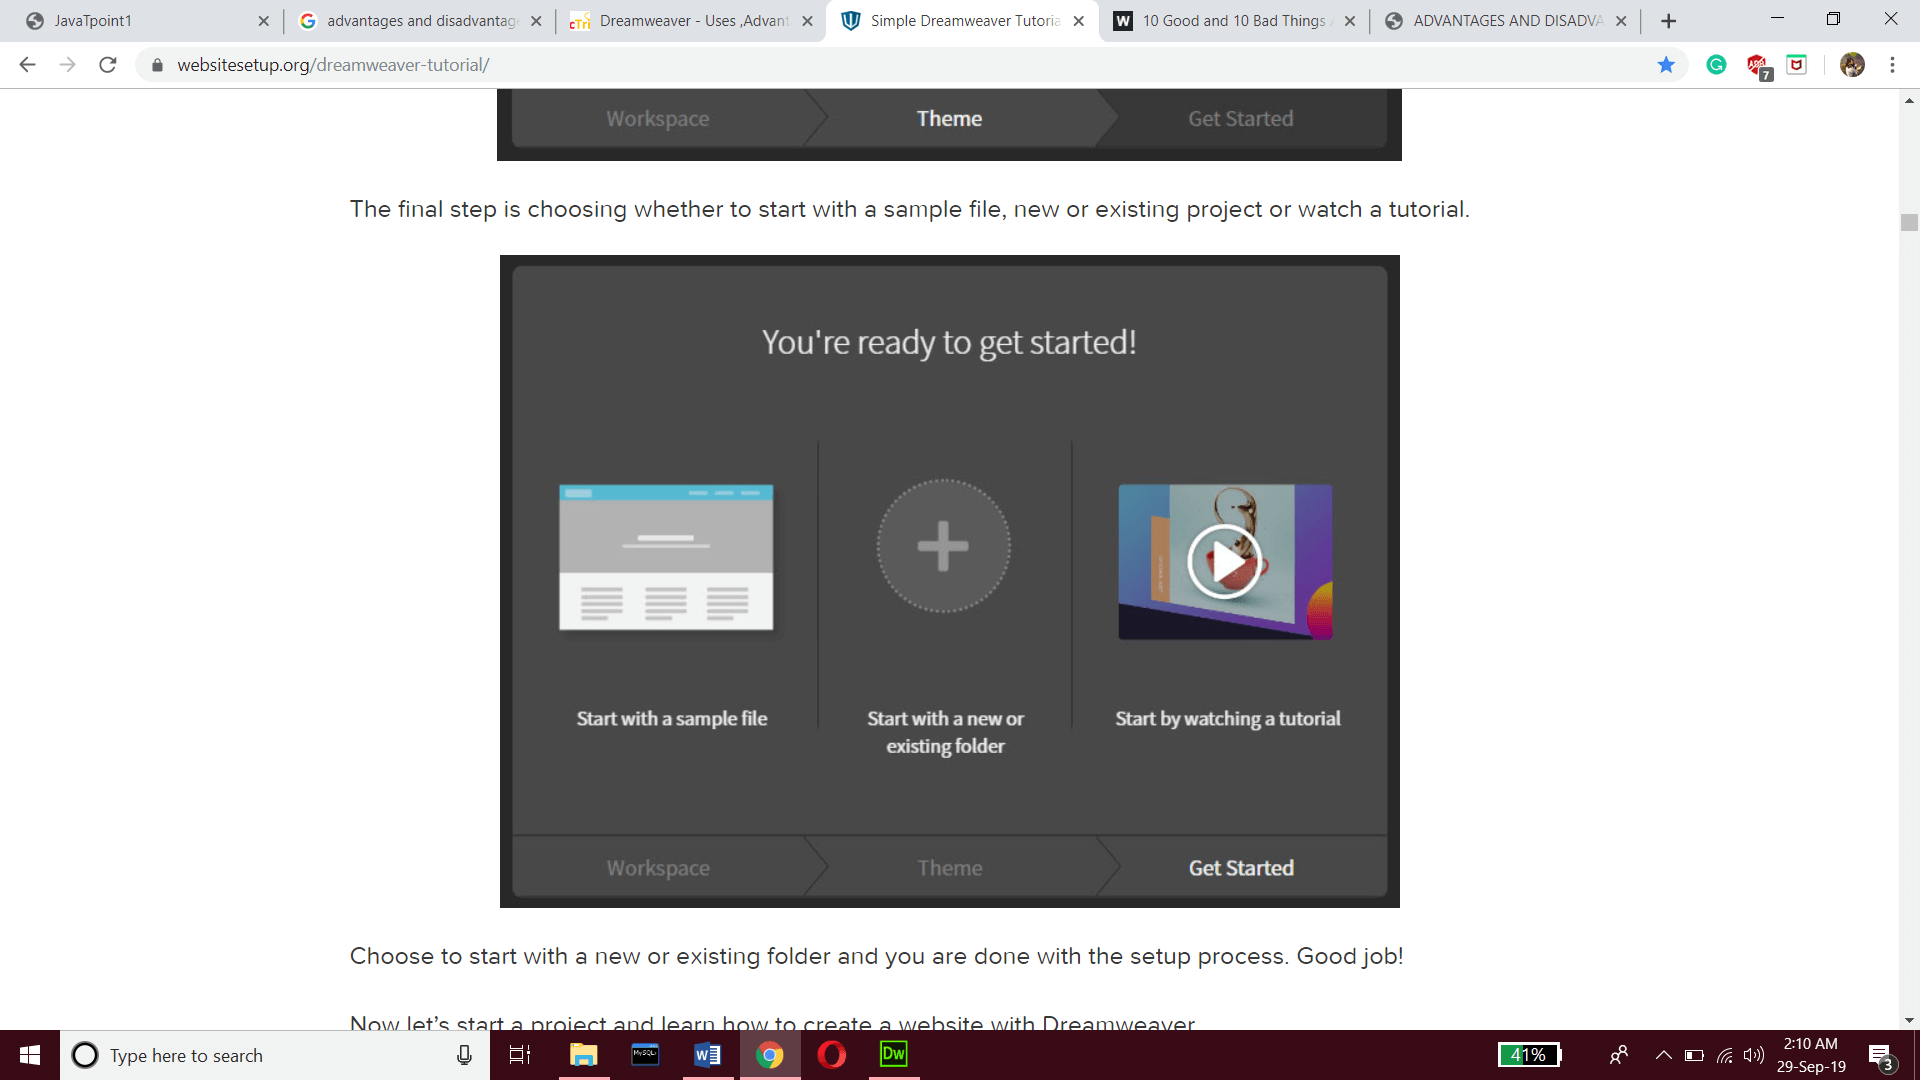
Getting Started with the Adobe Dreamweaver 2019 Double click on the Adobe Dreamweaver 2019 icon. You will get an IDE of the software. 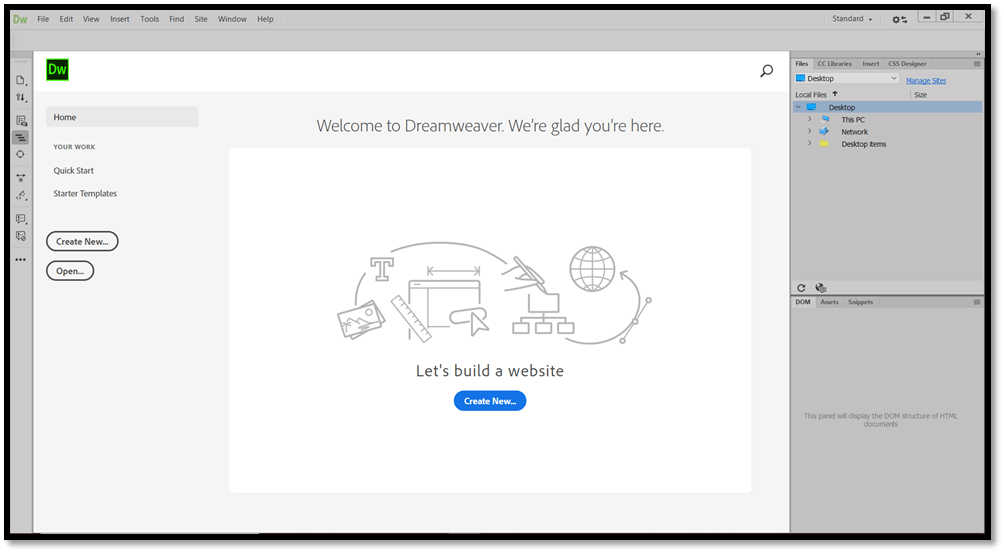
For creating a new file, click on the Create New? button which is present on the right side. 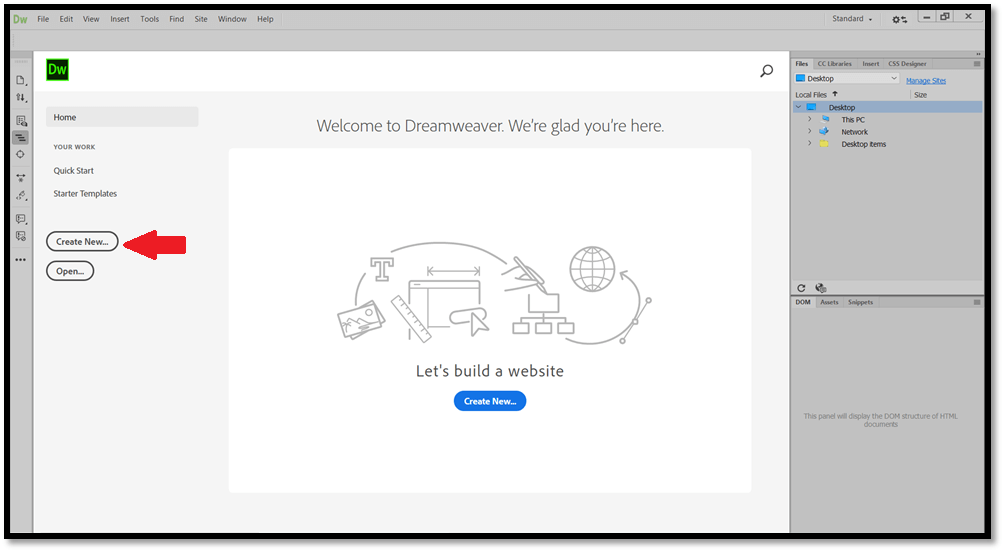
After this New Document window will appear. 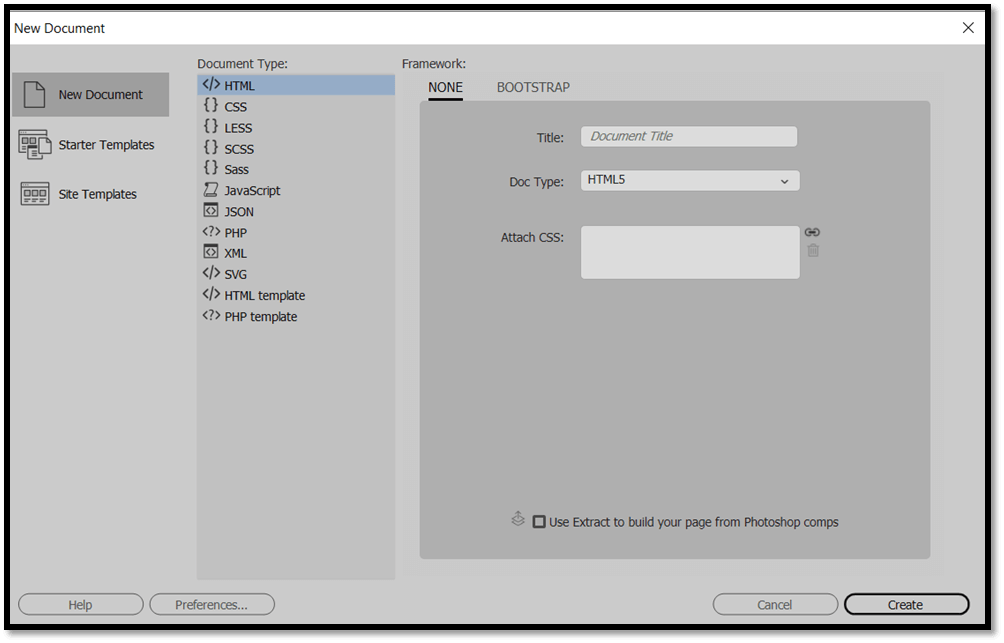
For creating an HTML5 document type select HTML and give the title for the document. You can also attach CSS files that are already created. And then click on the create button. A workspace will appear. The workspace is divided into two-part. The 1st part is to preview instant coding. The 2nd part is for coding. 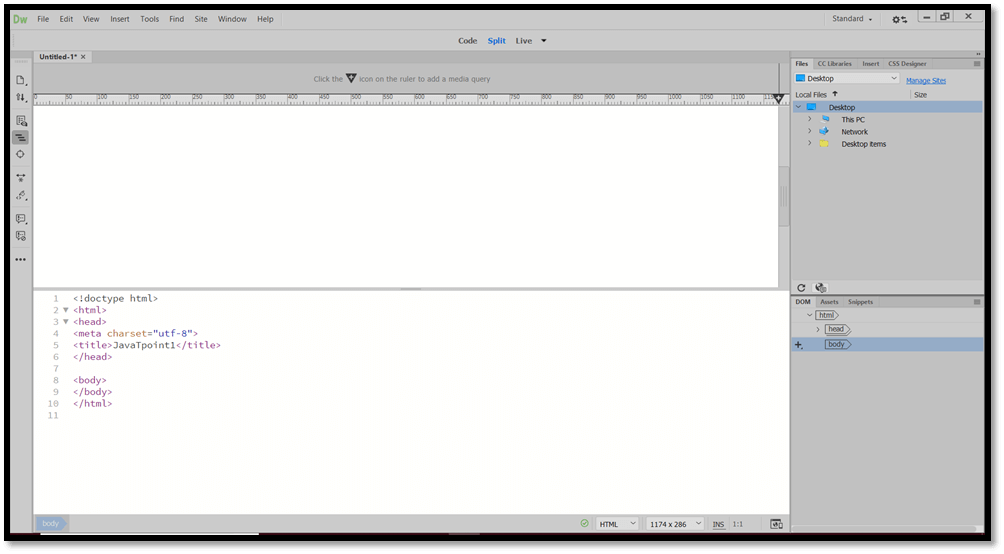
By default, the workspace is in Split mode. 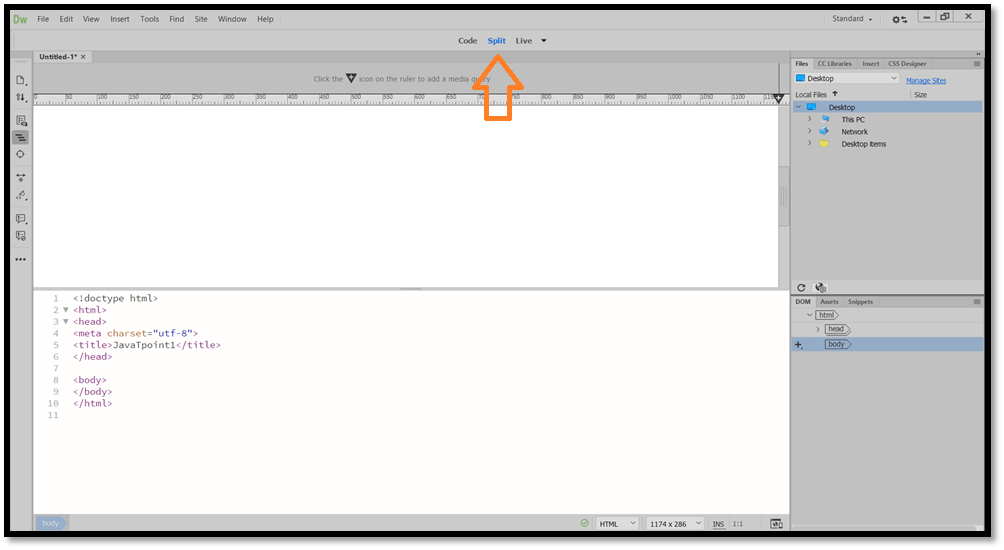
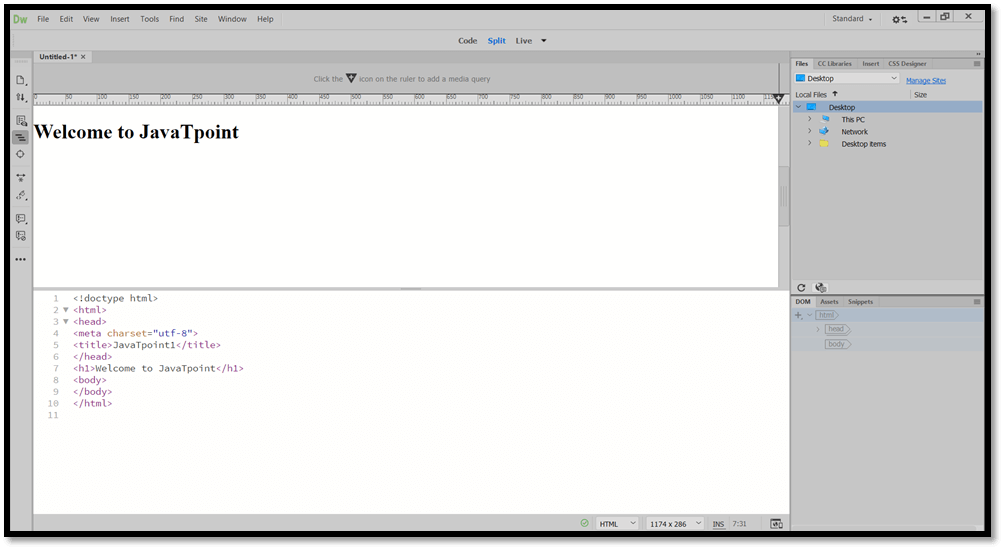
In the code option, only coding can be done. Save the file and run it in chrome. 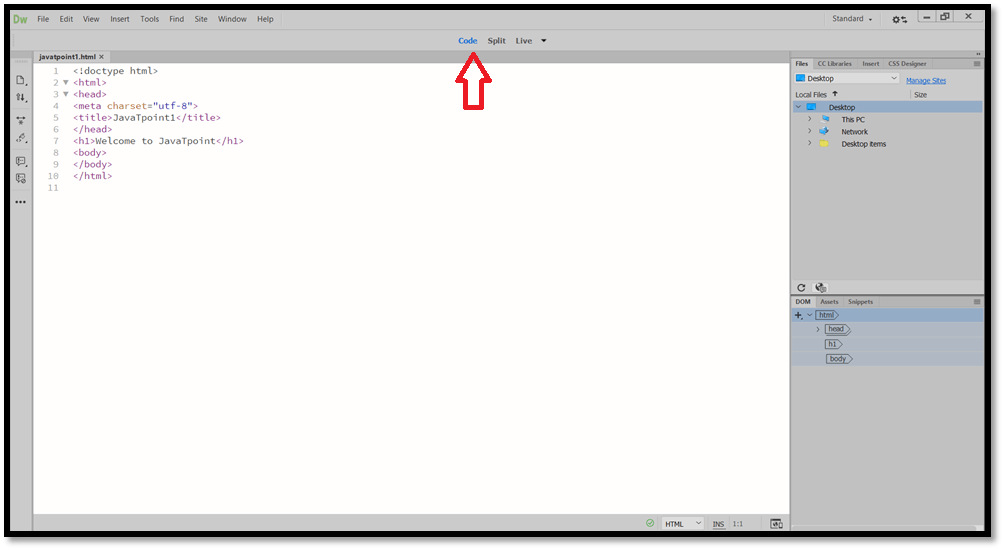
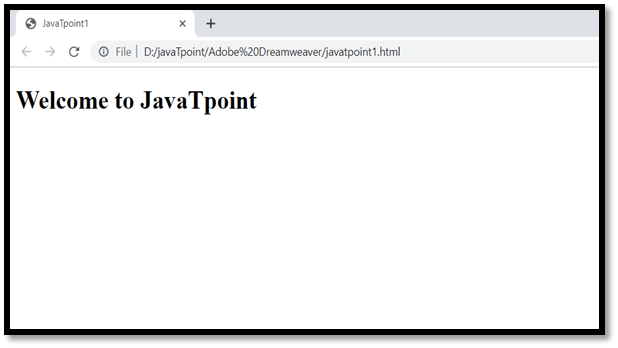
Or by clicking on Live option output can be viewed. 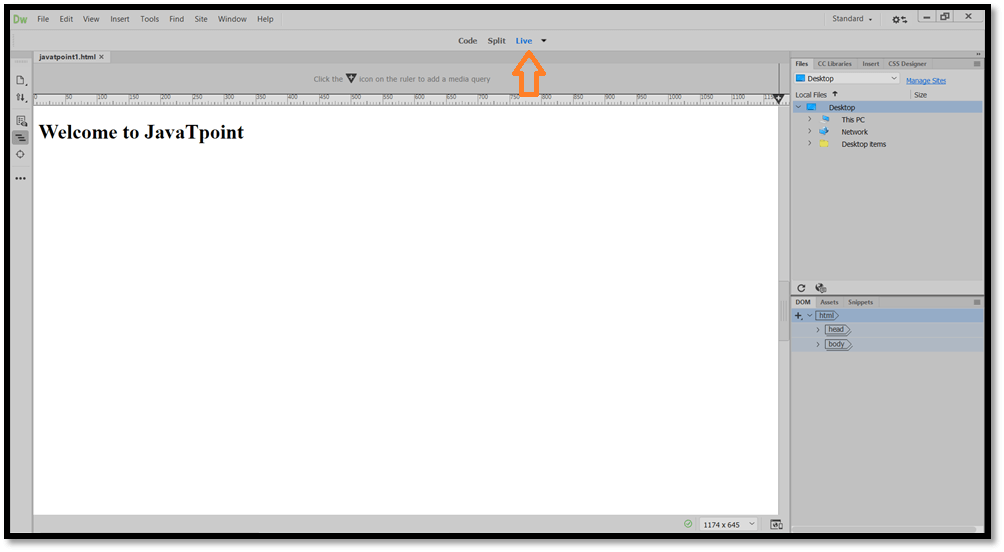
Designing a website using Dreamweaver IDE 1. To create a website, the 1st step is to create a new site page. For this follow the below steps: i. Click on site in the menu bar. 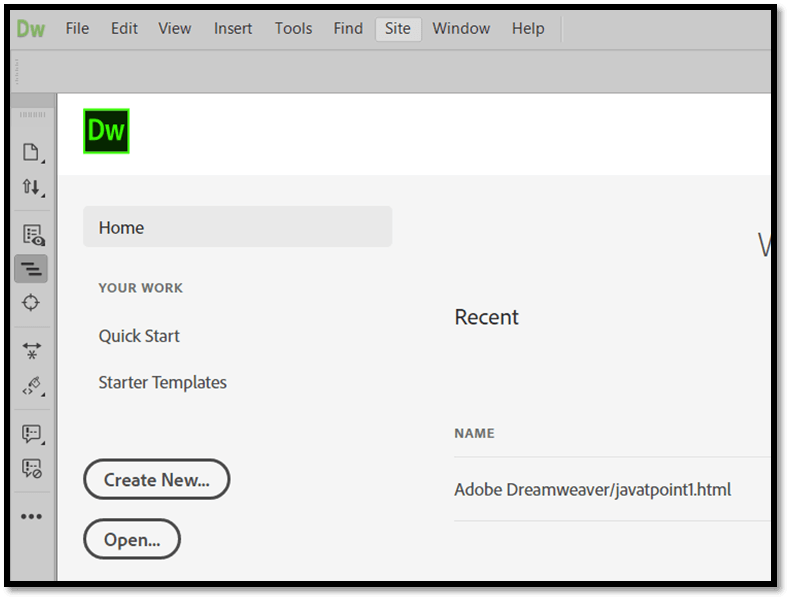
ii. Click on New site. 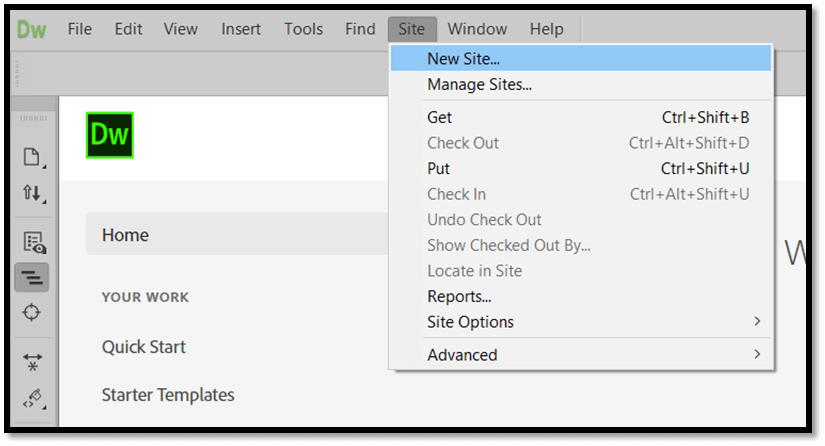
iii. A site setup window will appear. Give the site Name and the location where this folder will be created. Note: It is a good practice to keep all projects in one folder.You can also associate your project with this site by selecting it. This option gives you version control, but you can skip this option, as it is not mandatory. And then click on the save button. 
iv. Now, again click on site from the menu bar. On the left side of the site setup window, click on Advanced Setting. In this click on Local Info. 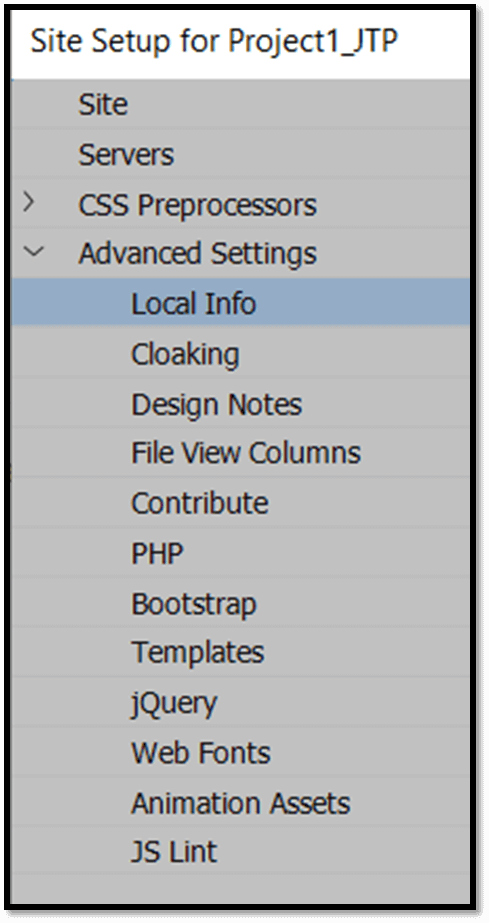
v. Now select the Default image folder by clicking on the folder icon. Now go to the folder where you have created the folder for the site and create a new folder name it as images and select it as your default image folder. In this folder, all the images will be saved by the Dreamweaver automatically. And then click on the save button. 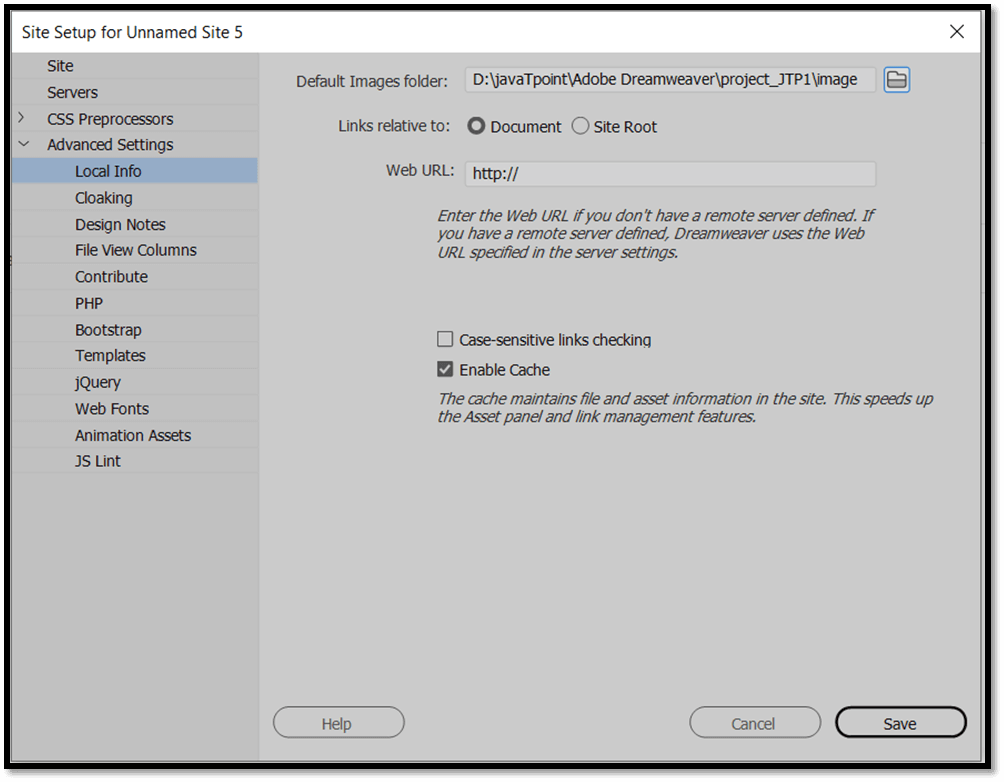
1. Now after creating a site folder, now we have to create a home page file in that folder. For this follow the below steps: i. Click on the file option in the menu bar. 
ii. Click on New file. 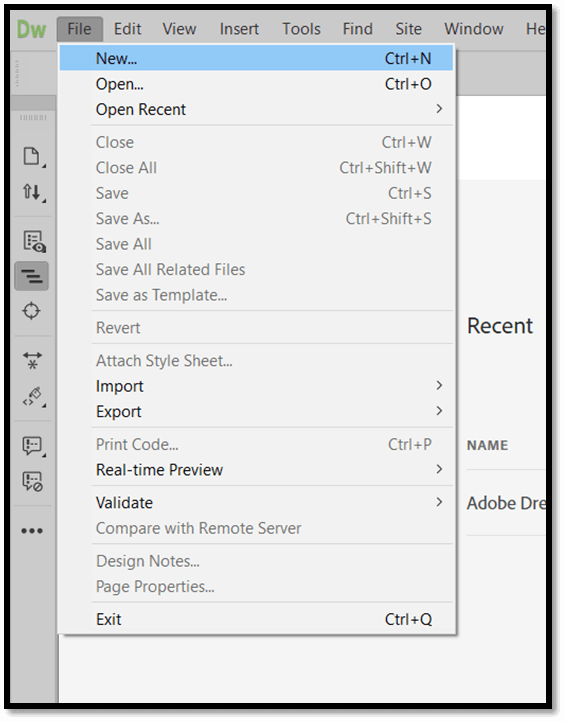
iii. A new document window will appear. By default, HTML is selected as doctype. Give the title of the file and click on create button. 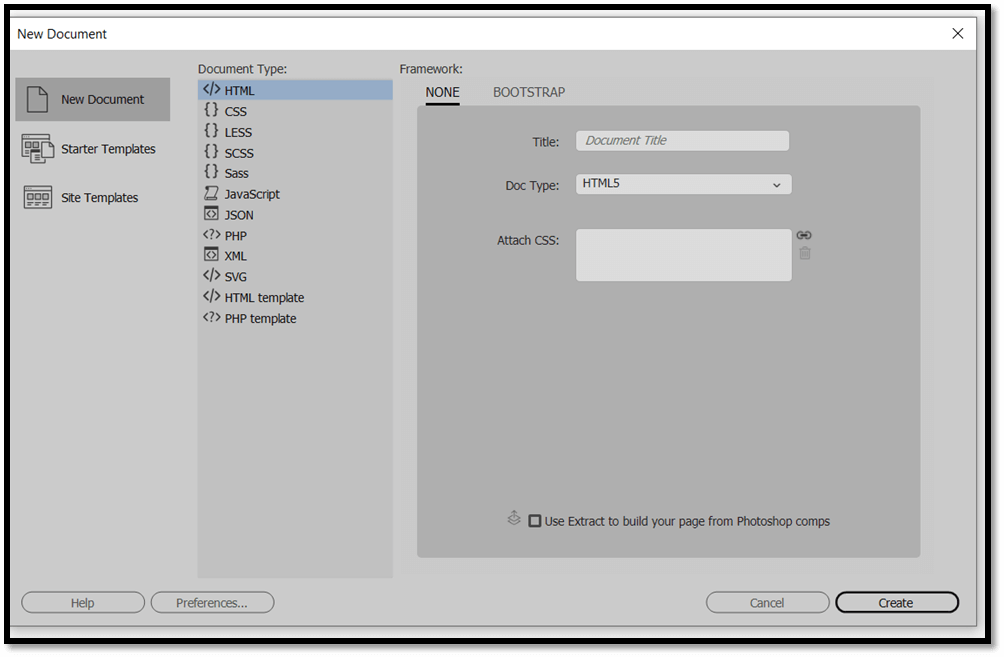
After clicking on create button workspace will appear. 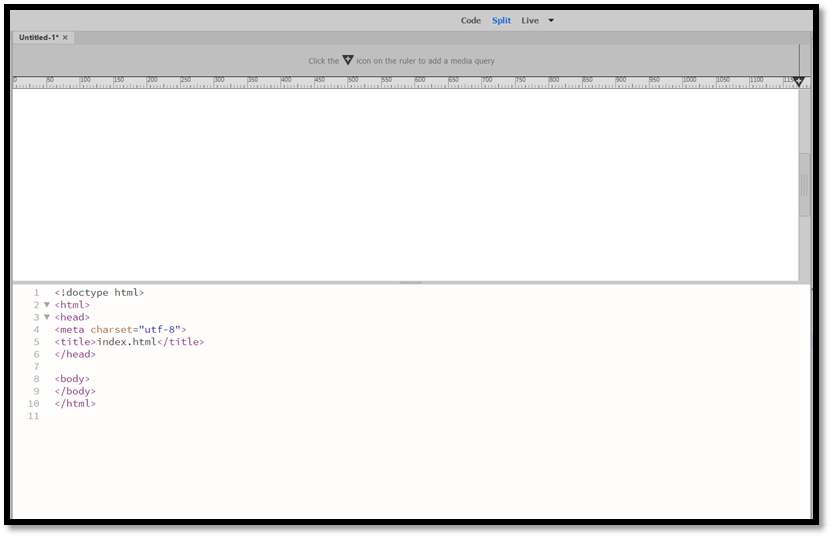
2. Now for Creating a Header on the web page. Following are the steps: i. Click on the insert tab which is present on the right side of the workspace. 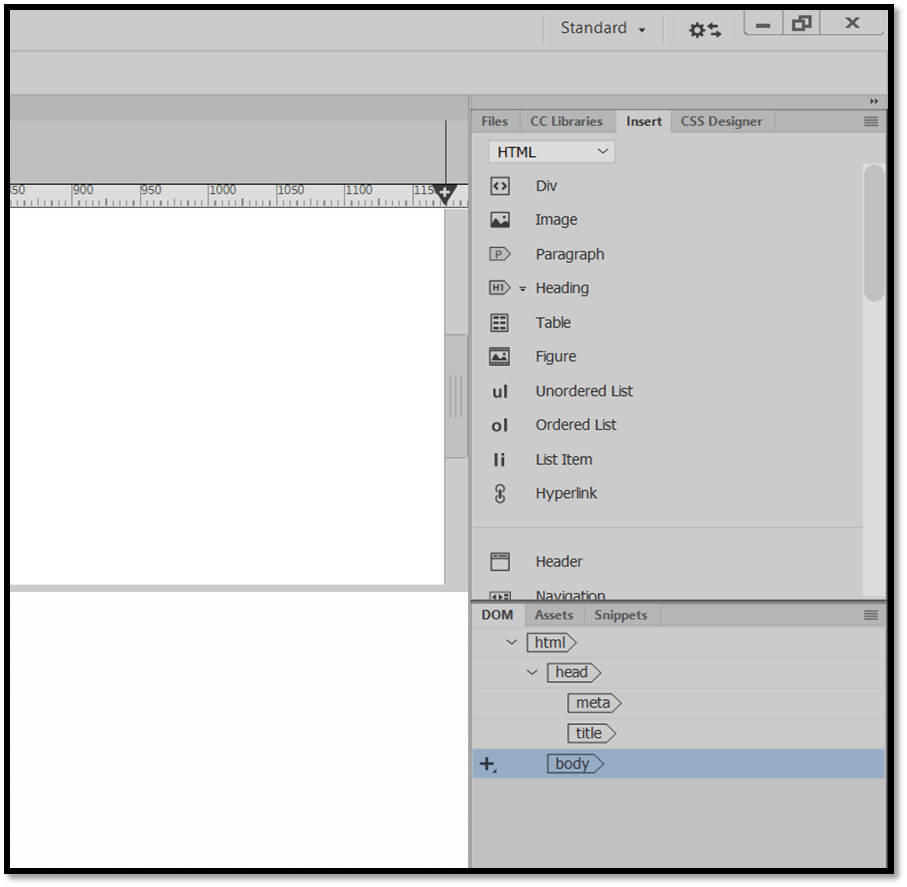
ii. Now select the header option, which is present inside the insert tab. 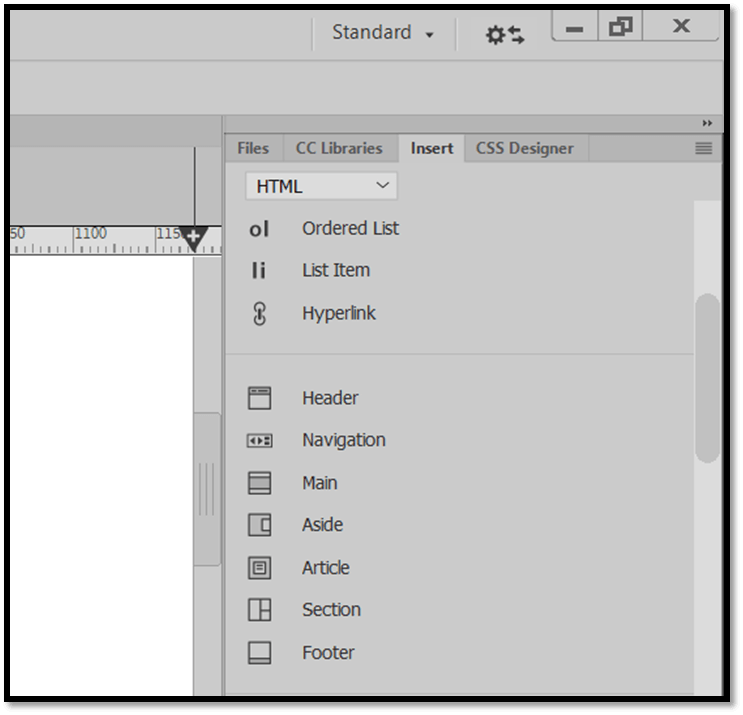
The control will automatically move the control to the head section on the web page. 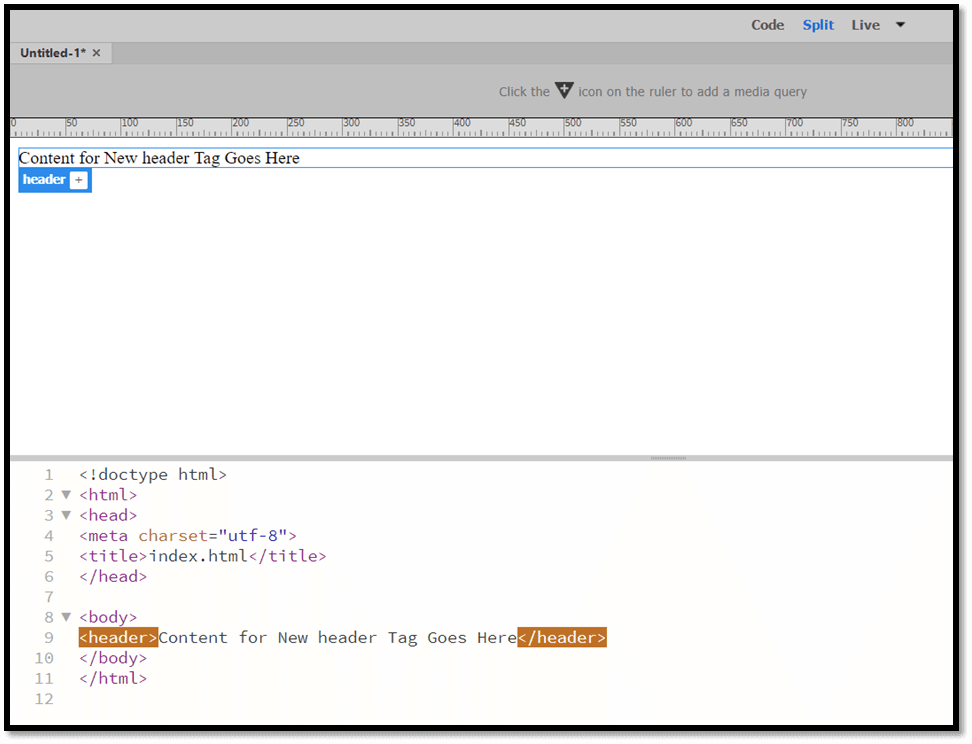
Now you can change the content as per your requirements. 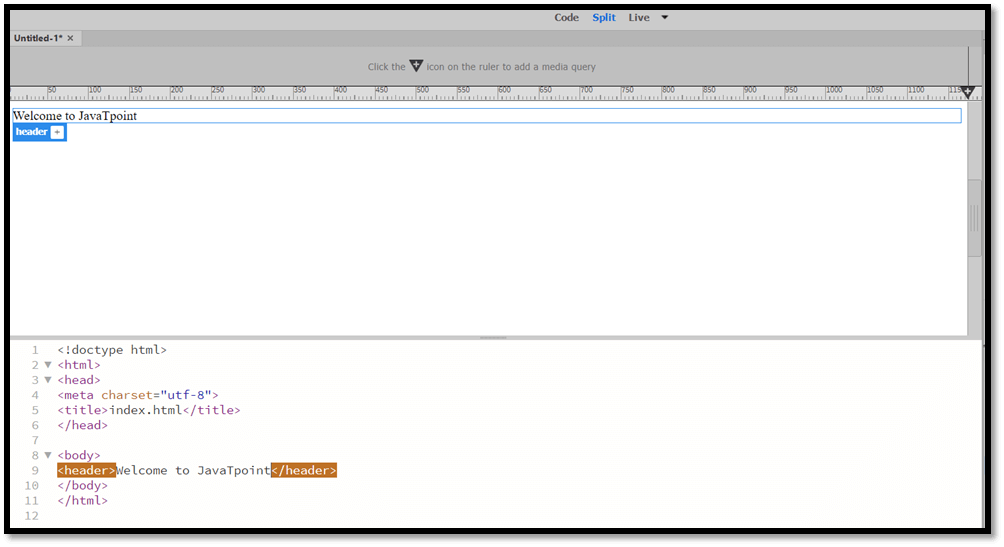
iii. Now go back to the insert tab and click on the heading. 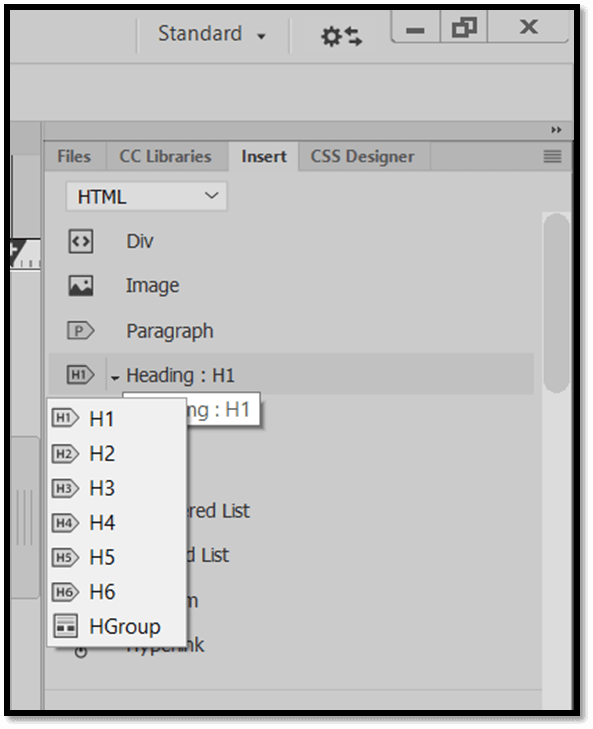
iv. Select H1 heading for the header. 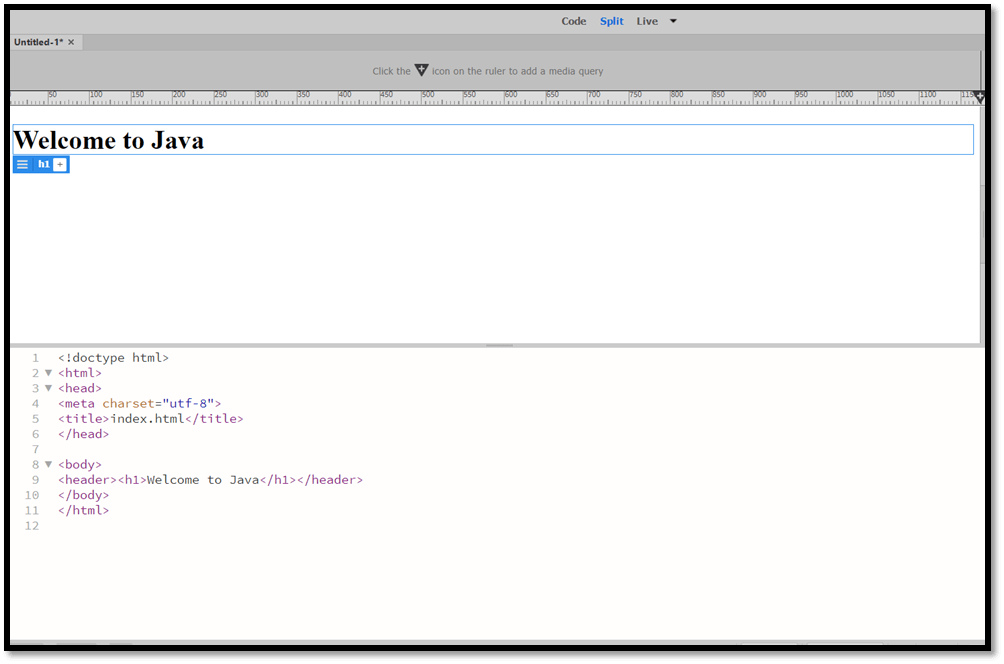
3. Creating a CSS File In the HTML document, the CSS file can be inserted. Following are the steps to create a CSS file: i. In the header section click on the blue box header plus symbol. 
ii. Now assign a name of the class or an Id and press enter. 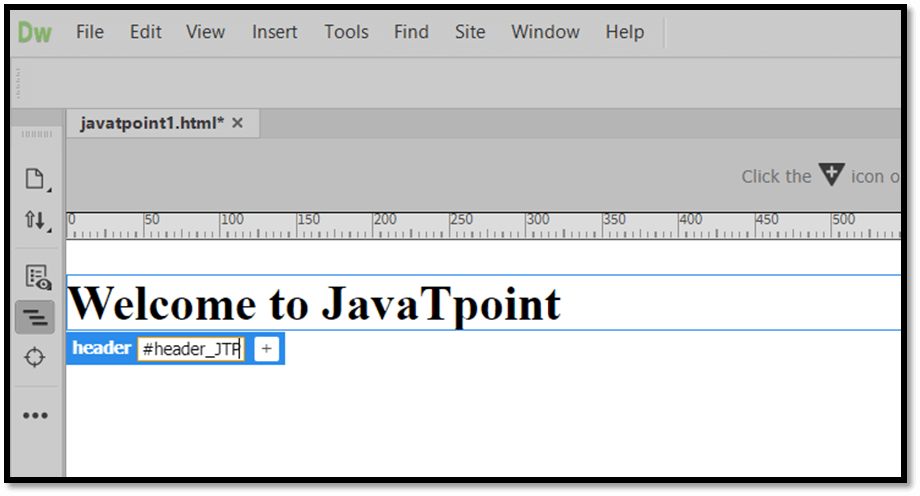
iii. A popup will appear, iv. Click on define on a page. 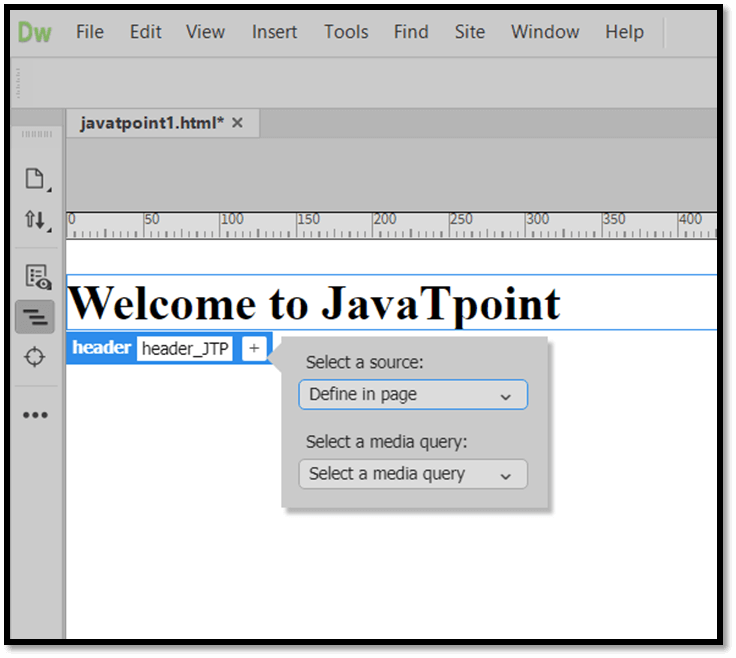
v. Now click on create a new CSS file. 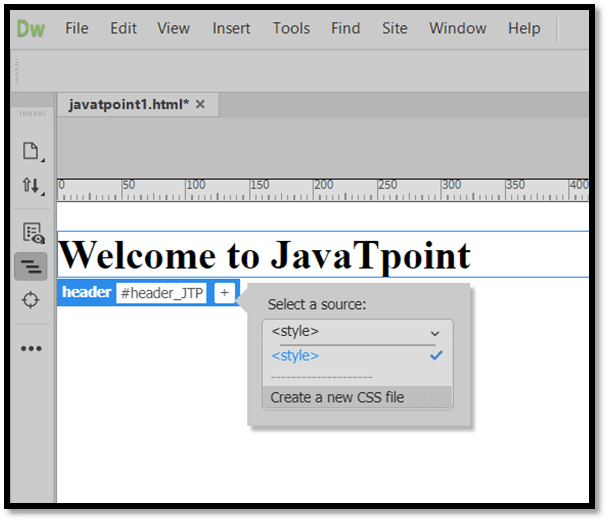
vi. In the Create a new CSS file window browses the folder of your site and give the CSS file name and then click on the ok button. 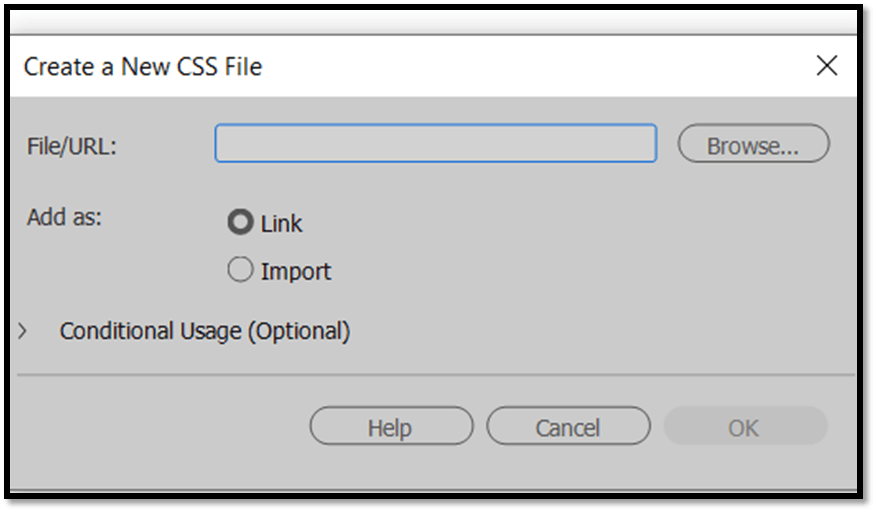
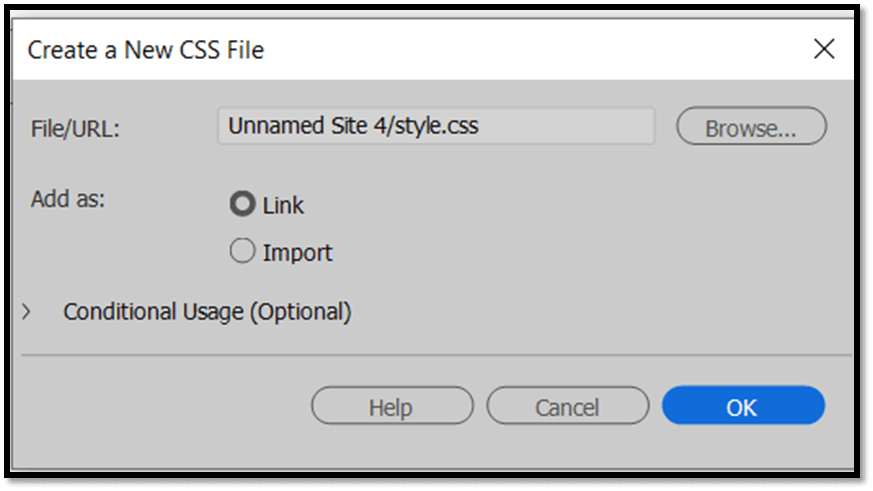
You can see the style.css file has appeared on the header. 
You can also see the code part wherein the head section a style tag is defined inside it the Id is mention which we have created, this is known as internal CSS. Also a link tag i.e Is also inserted for linking the style.css file with the HTML file, this is known as external CSS. 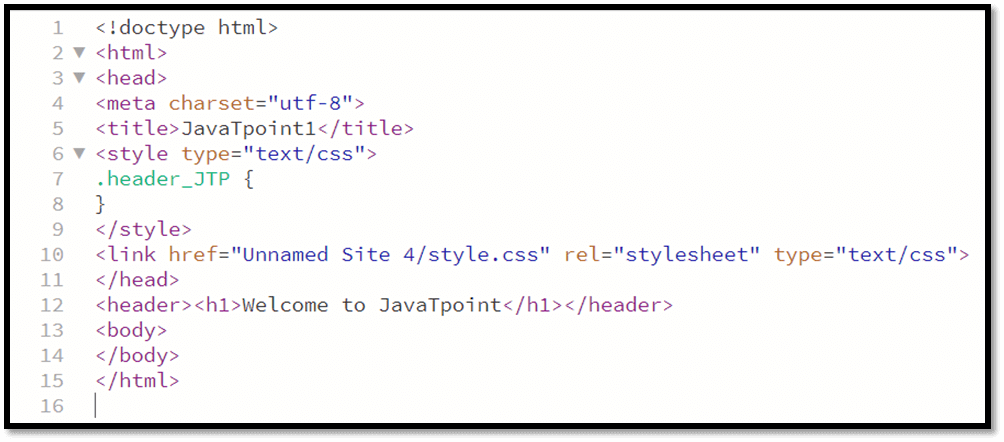
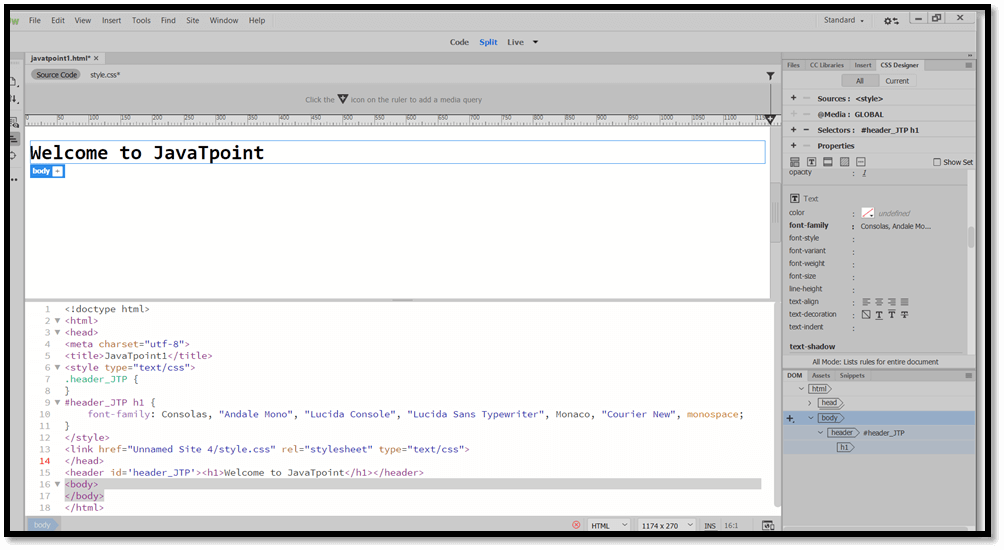
5. Create a CSS Selector for the Page Title If you want to change the font and also want to align it in the center, then you need to create a CSS selector. A selector is a name of an element in your page in which you can assign properties like color, size, etc. following are the steps to create a CSS selector: i. Mark the H1 heading in you DOM view on lower right. 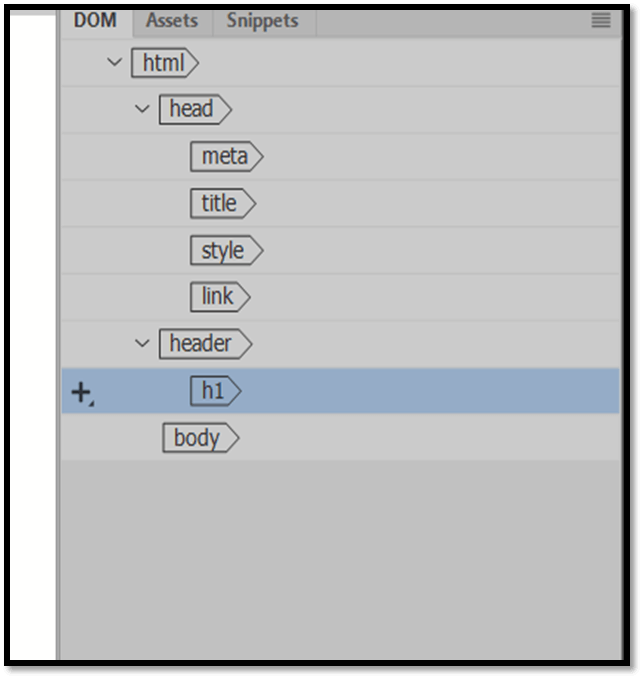
ii. On above it, click on CSS Designer. 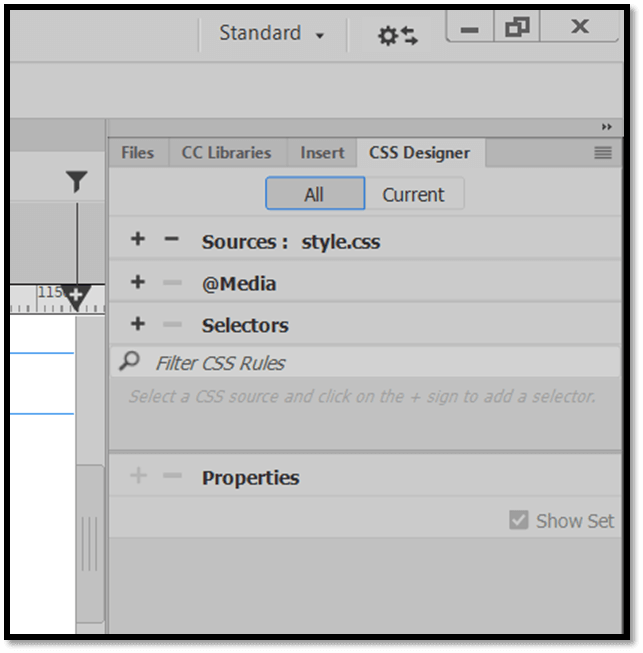
iii. Now click on the plus symbol of the Selector. You will get Id or class which you have created for the header then press the enter key. 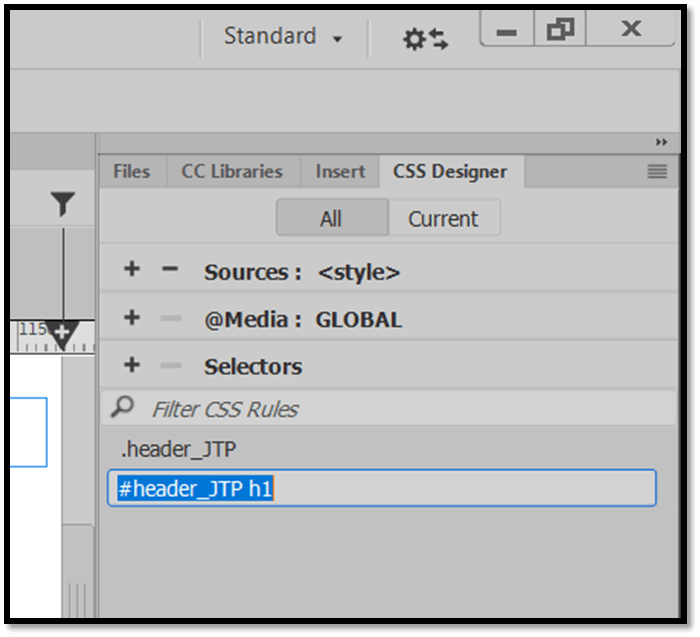
6. Changing the font of header. As we have created a selector in the previous step, so now we can assign properties in it. Following are the steps: i. Click on CSS design and then click on properties + icon. 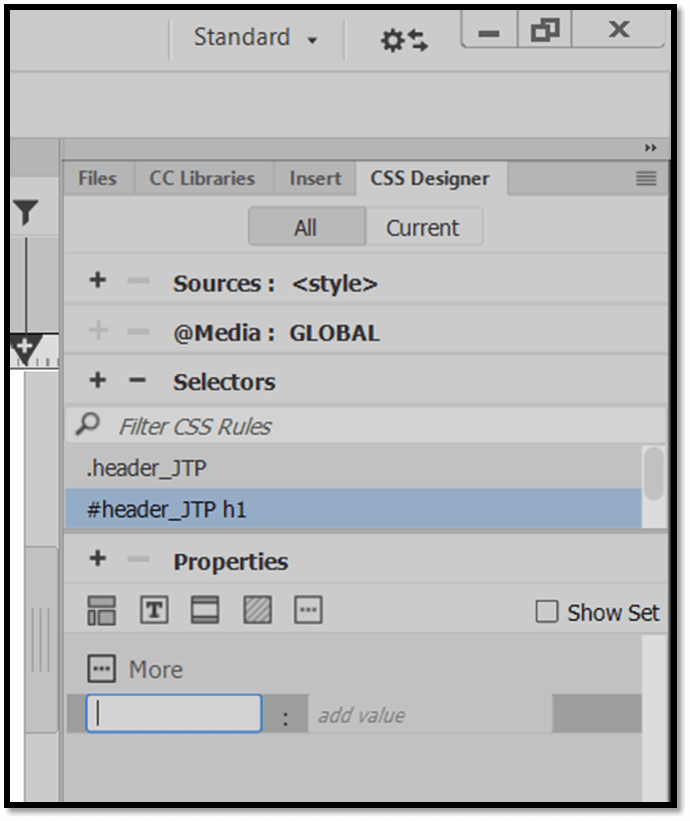
ii. Now click on the T button. 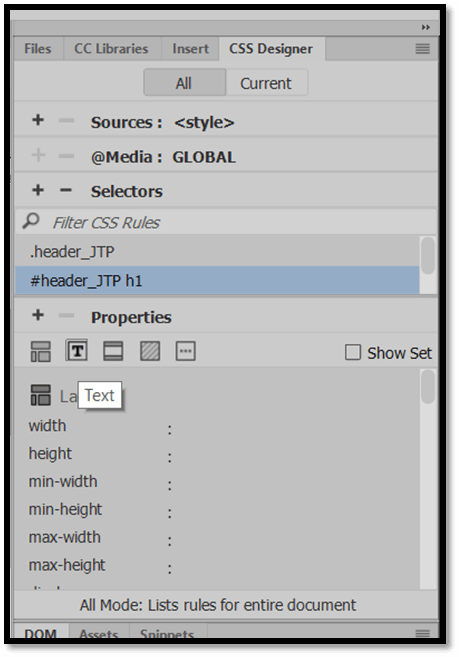
iii. Click on the font family and then select the font type of your choice. 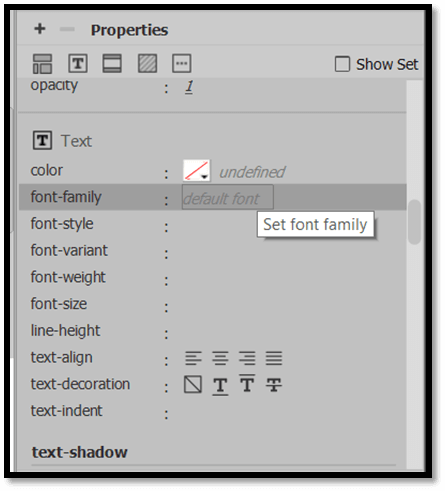
iv. You can also click on manage font present in the list of the family fonts name. 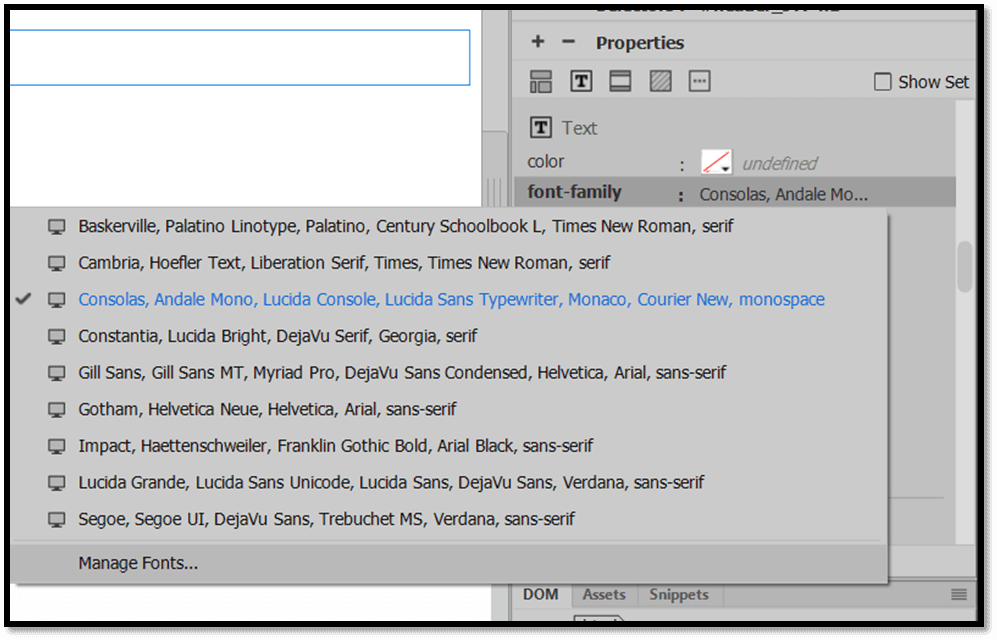
v. Select the font and then click on done button. 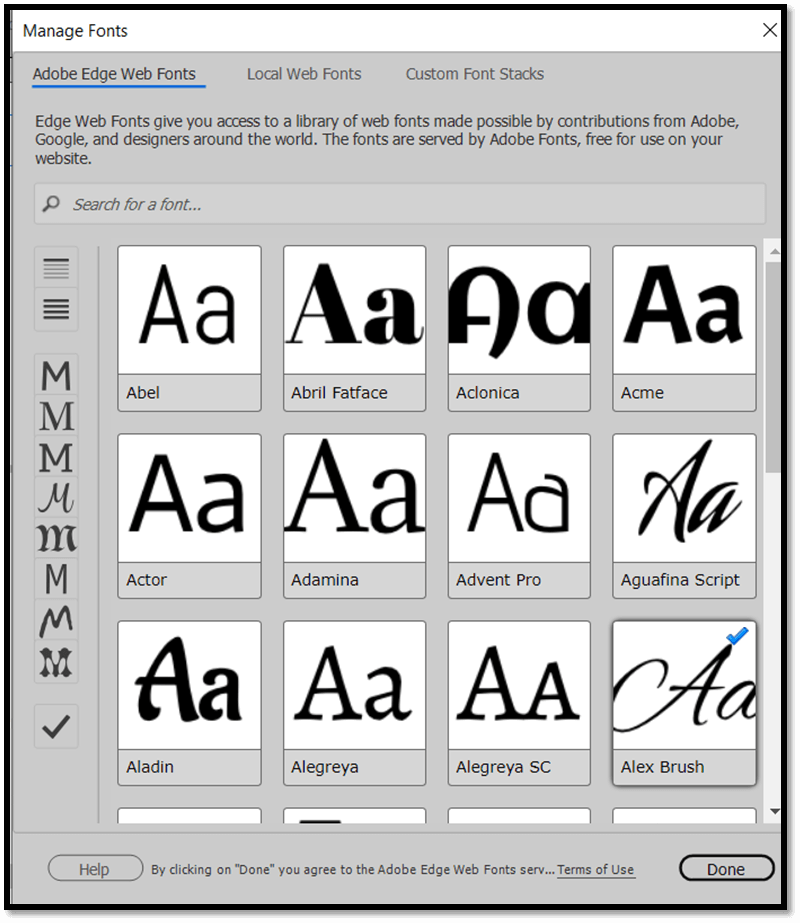
vi. After selecting the font again click on the font family, there you will see a new chain icon of your selected font click on it. 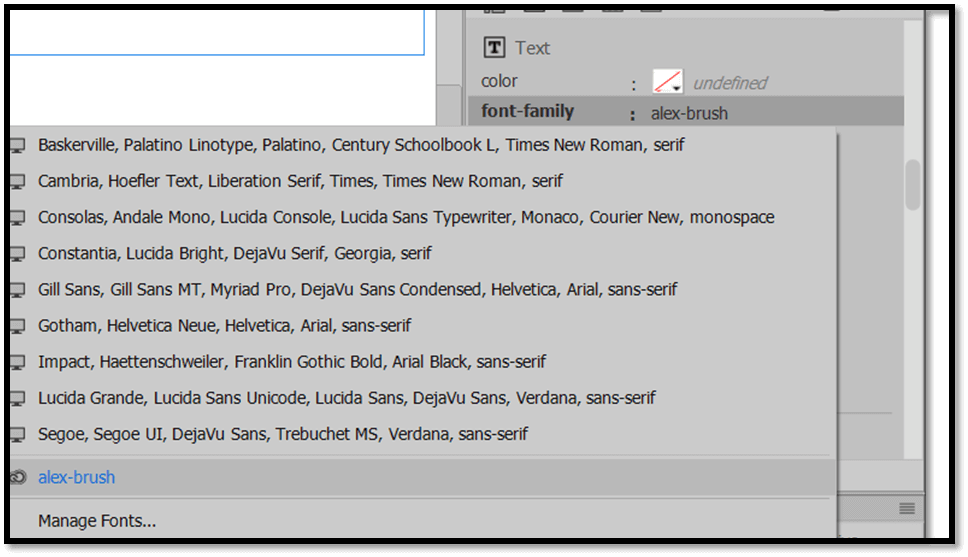
vii. After this, you can see that a link of font appears on the header. 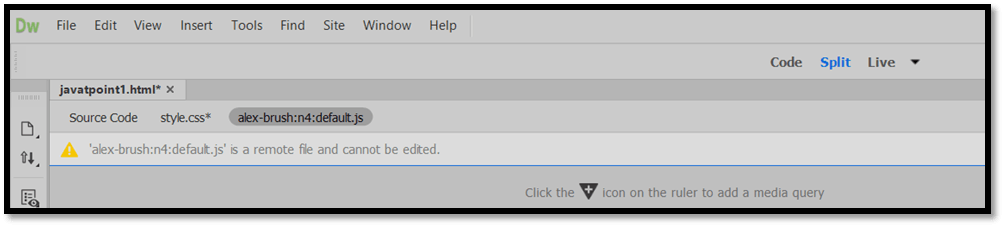
viii. Click on it. You will see the font is changed. 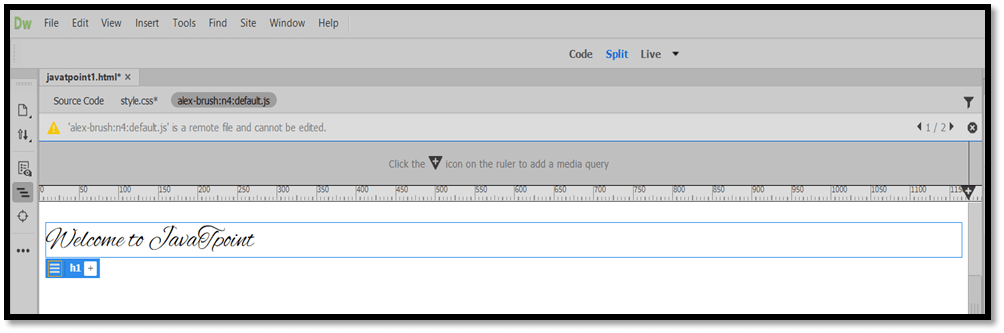
7. Center the Header and also Change the font Size For center, align the header and changing the font size Quick edit option can be used. Following are the steps: i. Go to source code and point course on <h1> tag and then right-click on it. You will get a list. 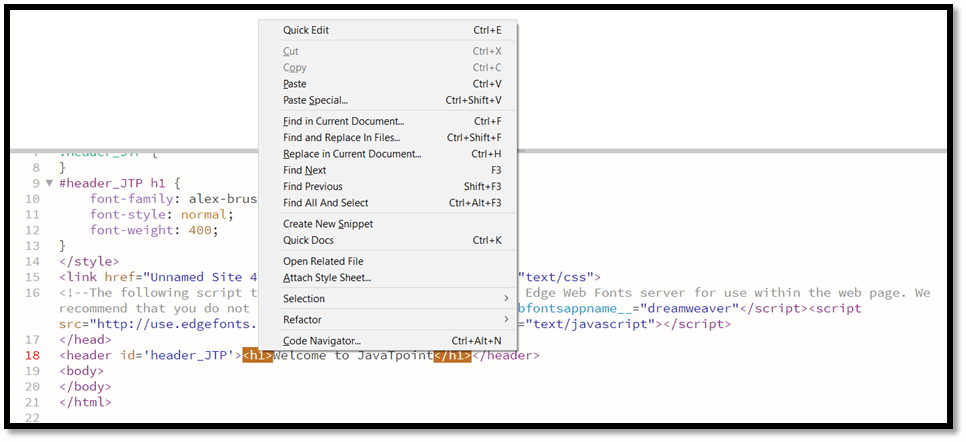
ii. Now, click on the Quick Edit option. It will open the CSS associated with the tag. Now you can input the below properties and then changes will appear. font-size: 50px; 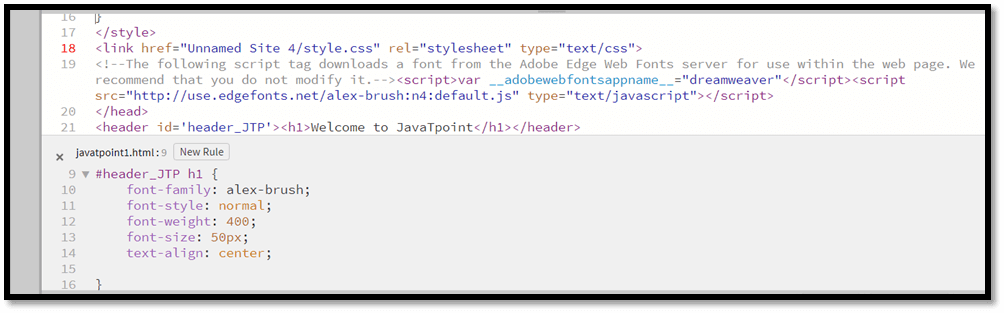

|
 For Videos Join Our Youtube Channel: Join Now
Feedback
- Send your Feedback to [email protected]
Help Others, Please Share


Javatpoint Services
JavaTpoint offers too many high quality services. Mail us on [email protected], to get more information about given services.
- Website Designing
- Website Development
- Java Development
- PHP Development
- WordPress
- Graphic Designing
- Logo
- Digital Marketing
- On Page and Off Page SEO
- PPC
- Content Development
- Corporate Training
- Classroom and Online Training
- Data Entry
Training For College Campus
JavaTpoint offers college campus training on Core Java, Advance Java, .Net, Android, Hadoop, PHP, Web Technology and Python. Please mail your requirement at [email protected]
Duration: 1 week to 2 week


