| |

GIMP TutorialGIMP tutorial is designed for learning the Gimp (GNU Image Manipulation Program) tool. Our GIMP tutorial is designed for beginners and professionals both. This tutorial is useful for photographers and graphic designers. This GIMP tutorial included photo editing, painting, logo designing, and other advanced photography and editing tasks. Further, it includes useful tips and tricks for editing photos. Each topic in this tutorial has a maximum number of annotated images. We have started this tutorial from scratch so that you can learn it easily. What is GIMPGIMP (GNU Image Manipulation Program) is a free and open-source image editor tool. It is a cross-platform tool available for different operating systems such as GNU/Linux, macOS, Windows, etc. As it is open-source, its source code can be downloaded. It is packaged with most of the Linux distros. It is a useful tool for Graphic Designers, Photographer, and other professionals. It supports various third-party plug-in to make it a more advanced editing tool. We can enhance our creativity with the help of these plug-ins. It is a useful tool for various image manipulation tasks such as photo editing, image composition, image construction, logo designing, painting, and many more. It is capable enough of being used as a simple paint tool, an advanced photo editing tool, a mass production image renderer, or an image format converter tool. One of the other reasons for its popularity is that it is a free tool while other editing tools such as photoshop are paid. Most Linux distributions include it as a standard application. But, it can be downloaded for other platforms such as macOS and Windows as well. Gimp is licensed under the GPL (General Public License). The tools that are licensed under the GPL provides the freedom to alter the source code. Features of GIMPSome key Features of GIMP are as following: Free and Open Source It is a free and open-source tool. Cross-Platform It is a cross-platform tool available for different operating systems such as GNU/Linux, macOS, Windows, and more High-Quality Photo Manipulation It has massive supports for the tools needed for high-quality image editing. It can perform some advanced tasks such as image retouching, image restoring, image composing, etc. Original Artwork Creation It is enough capable and flexible to transform an image into truly unique creations. Graphic Design Elements The Gimp is a vital tool for creating icons, logos, graphical design elements, interactive arts for UI, and mockups. Programming Algorithms It also provides an advanced framework for scripted image manipulation with multiple programming language support like C, C++, Python, Perl, etc. Key Component in a Desktop Publishing Workflow It provides color management features to ensure the high-quality fadable color reproduction across media. Further, It provides an interactive workflow in other tools such as Scribus, Inkscape, and SwatchBooker. Apart from all the above features, it also provides the following list of features:
GIMP HistoryThe GIMP project had been initiated in 1995 by Spencer Kimball and Peter Mattis as a semester project at the University of California. It was named as General Image Manipulation Program. Later, Kimball and Mattis met with Richard Stallman (GNU Project) while visiting the University of California. They asked to change the General word with GNU, and the Stallman approved. From here, the software had become part of the GNU software collection. Its first release had proper computer architectures and operating systems support. The first release supported all UNIX-based systems such as Linux, HP-UX, and SGI IRIX. Since the initial release, it has been extended for other operating systems such as Windows and macOS. The Windows support in GIMP 1.1 was started by Tor M. Lillqvist (Finish Programmer) in 1997 for the Windows 32-bit platform. Following the first version, it was adopted by users, and several communities of contributors were formed. Communities were started by developing plug-ins, artwork, tutorials, and techniques. GTK (Gimp Tool Kit) was developed for the development of GIMP. Later, it was replaced by its successor GTK+, which was redesigned by using object-oriented programming methods. GIMP VersionsThe first version of GIMP was released in January 1996 as "GIMP 0.54" with various colors and file format support. It got updated over the years and released many versions. The version list of GIMP is as follows:
GIMP User InterfaceThe GIMP user interface looks like a typical image editing tool. A dedicated design team designs it. It is presented in two forms
The default view of GIMP is multiple window mode, which has the tools and tool settings on the left and other utility dialogues on the right. The center screen displays image being manipulated. The top navigation menu is always on in-display mode. Consider the below image: 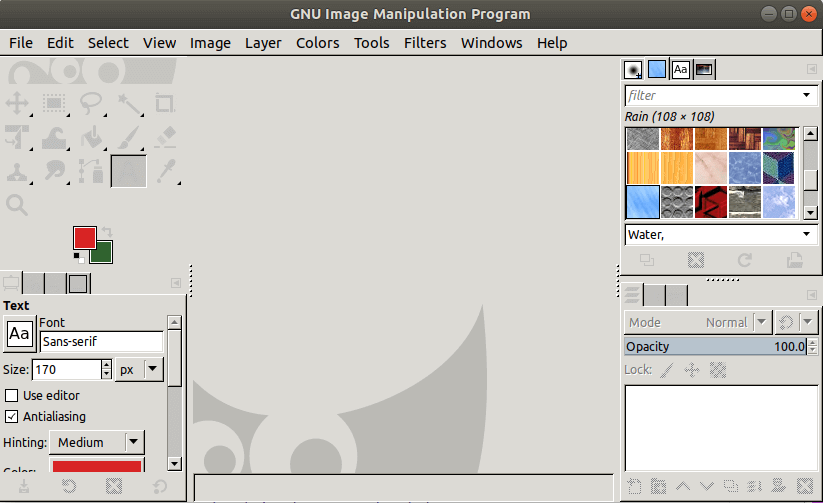
PrerequisitesBefore learning GIMP, you should have a working knowledge of the computer and its operating system. So, Ensure how to use the basic commands and menus with primary I/O devices since it is an image manipulation tool, so you don't need to worry about the prior knowledge of any technology. Just make sure you have properly installed it on your system. AudienceOur GIMP Tutorial is designed to help beginners and professionals both. ProblemWe assure you that you will not find any discrepancies or problems in this tutorial. But in case, if you find any mistake, you can inform us by posting it in the contact form.
Next TopicInstall Gimp
|
 For Videos Join Our Youtube Channel: Join Now
Feedback
- Send your Feedback to [email protected]
Help Others, Please Share


Javatpoint Services
JavaTpoint offers too many high quality services. Mail us on [email protected], to get more information about given services.
- Website Designing
- Website Development
- Java Development
- PHP Development
- WordPress
- Graphic Designing
- Logo
- Digital Marketing
- On Page and Off Page SEO
- PPC
- Content Development
- Corporate Training
- Classroom and Online Training
- Data Entry
Training For College Campus
JavaTpoint offers college campus training on Core Java, Advance Java, .Net, Android, Hadoop, PHP, Web Technology and Python. Please mail your requirement at [email protected]
Duration: 1 week to 2 week


