| |

Firebase UI: Authentication using email/passwordAs we have discussed previously, there are two authentication methods, i.e., Firebase UI and Firebase SDK. In this section, we will learn how to use the Firebase UI method to perform authentication using the email/password. Firebase UI is an open-source library and very simple to use. We can customize it because it is open-source. It eliminates boilerplate code(section of code which has to be included in many places with little or no alteration) and promotes best practices both with the user experience and the security. A very simple API provides a simple drop and authentication. It can handle the flow of all sources of different authentication techniques from email addresses and passwords to phone numbers type identity providers such as Google. It is built on top of the Firebase Auth libraries. The best practice when we use this library is to maximize the sign-in and sign-up conversion for our application. It enables all automatic single tap signing for our app for returning users and also handles account recovery, account linking. Let's start understanding this complete process step by step: Step 1: In the first step, we will connect our application with the firebase console. To connect the application with Firebase, go through the following link https://www.javatpoint.com/adding-firebase-to-app. Step 2: Once our application is connected to the Firebase, our next step is to import the required libraries for Firebase UI. 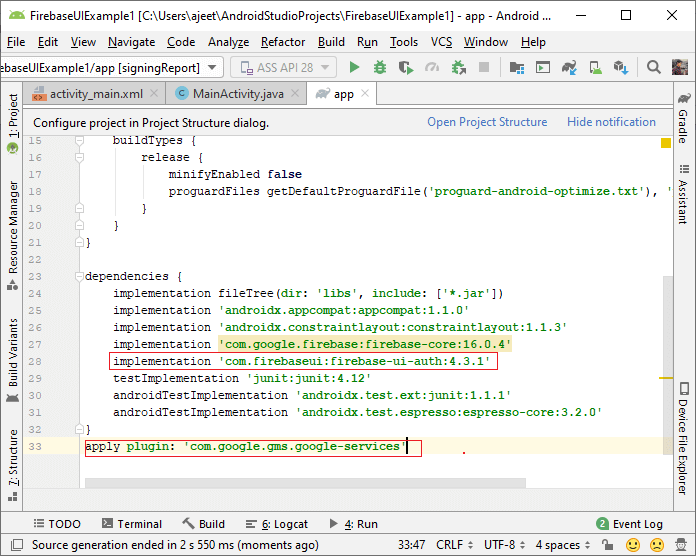
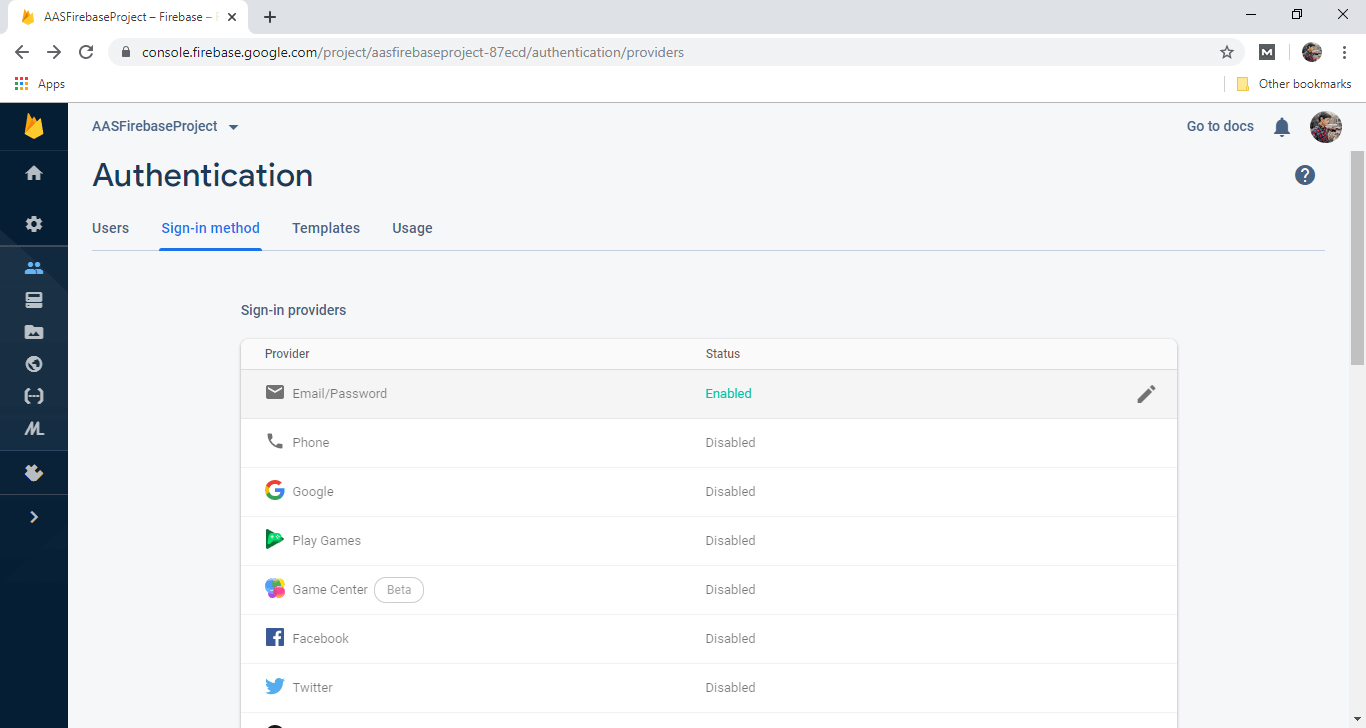
Step 3: In the next step, we need to set up or enable authentication methods. For this, we have to enable the email password authentication in the Firebase console. 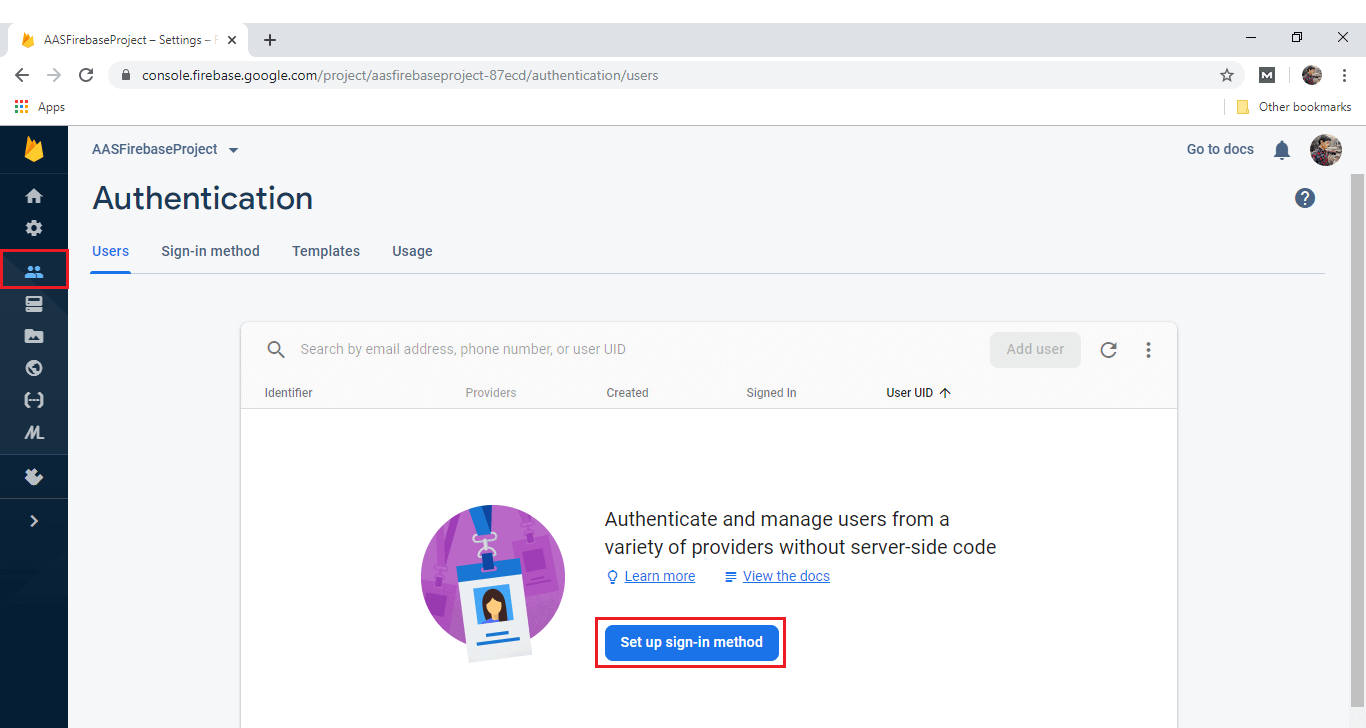


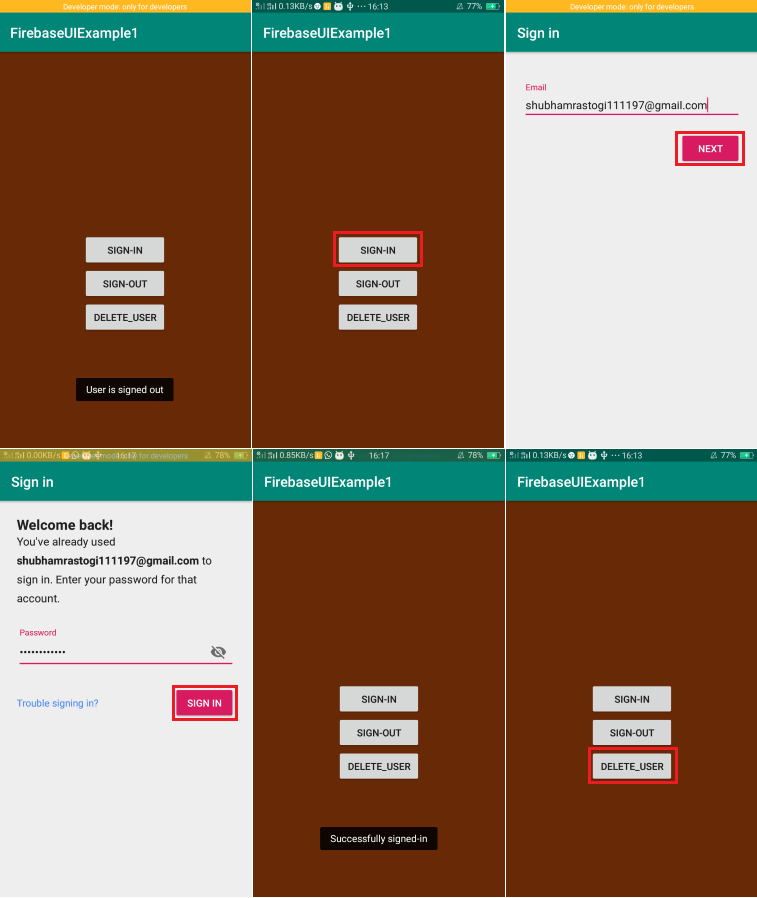
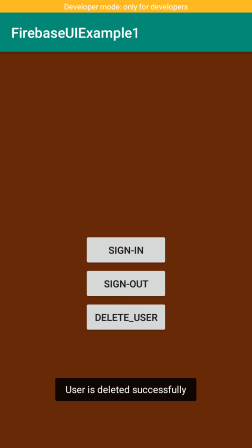
Step 4: In the next step, we will go to the Android Studio and create an activity for Sign-in and Sign-out. Step 5: Next, we will modify our MainActivity.java file. We have to make sure that our app checks whether or not a user is already signed in from a previous session before invoking Firebase Authentication flow. For this, we have to check the Firebase instances and see if somebody is signed in. Step 6: The next thing we have to do is actually start signing using the Firebase UI libraries. The entry point for the authentication flow is the Auth UI class. We can retrieve an instance of the Auth UI by AuthUI.getInstances(). So what we have to do, we will create the sign-in code first which are as follows: Step 7: We have to create onActivityResult() because the flow for authentication UI has several response codes. In this function, we will check the request and response code. If they match, the user will successfully signed-in. Step 8: In the next step, we will perform the sign out functionality. Because if a user signs in, then it is also require to have sign out. We will create sign-out function in the following way: Step 9: Apart from Sign-In and Sign-out, we can delete the user also. For this we need to implement delete() function which is called on button click. This will be as followed: Step 10: This step is used for adding a new provider. Previously we used Email provider but we can add more providers such as Google, Phone number. This is done in the following way: For this, we have to enable the phone and Google provider in Firebase console. 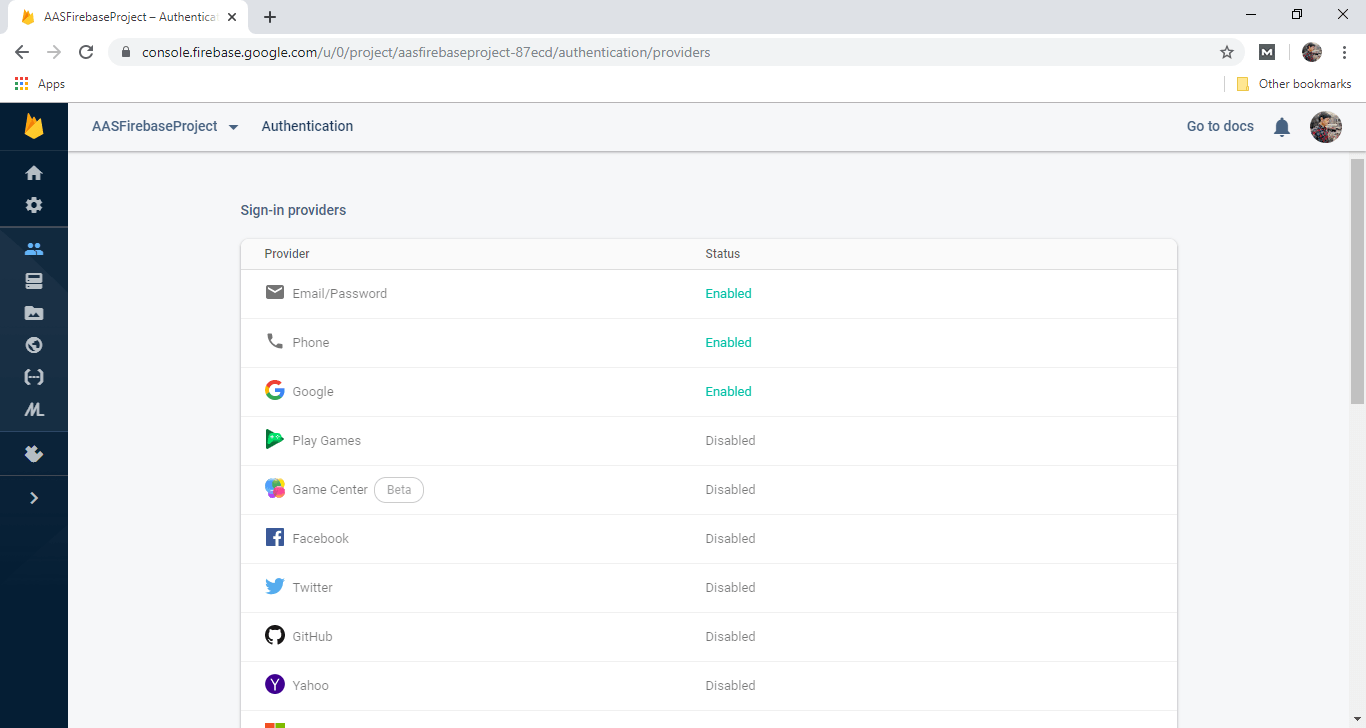
Output: 
Next TopicUI: using email link
|
 For Videos Join Our Youtube Channel: Join Now
Feedback
- Send your Feedback to [email protected]
Help Others, Please Share


Javatpoint Services
JavaTpoint offers too many high quality services. Mail us on [email protected], to get more information about given services.
- Website Designing
- Website Development
- Java Development
- PHP Development
- WordPress
- Graphic Designing
- Logo
- Digital Marketing
- On Page and Off Page SEO
- PPC
- Content Development
- Corporate Training
- Classroom and Online Training
- Data Entry
Training For College Campus
JavaTpoint offers college campus training on Core Java, Advance Java, .Net, Android, Hadoop, PHP, Web Technology and Python. Please mail your requirement at [email protected]
Duration: 1 week to 2 week


