| |

Kali Linux Tree CommandIn Kali Linux as well as MS-DOS and Microsoft Windows, tree means a recursive directory listing program that generates a depth-indented listing of files. Without any arguments, tree lists the files in the current directory. When directory parameters are used, the tree lists all of the files or directories found in each of the specified directories one by one. Tree provides the total number of files and directories after listing all files and directories found. There are options for changing the output characters and using color output. SyntaxThe following is the syntax of the tree command: Tree Command OptionsIn tree command, there are various options:
1. Listing OptionsThere are various options for listing:
2. File OptionsThe following are the file options:
3. Sorting OptionsThe following are the sorting options:
4. Graphics optionsThe following are the graphics options:
5. XML/HTML/JSON OptionsThe following are the XML/HTML/JSON options:
6. Input OptionThe following is the Input option:
7. Miscellaneous OptionsThe following are the miscellaneous options:
How to Install the Tree CommandIn Kali Linux, installing the tree command-line utility is so simple via the apt-get command. In order to install a tree command, we have to open our kali Linux terminal and enter the following command. 
After the tree is installed, we can use the following command in order to check the version number and see if the installation was successful: 
We recommend executing the following command before each install so that we can get the most recent version of the software in the online repositories: 
How to Use Tree Command in Kali LinuxWe will go through some tree command examples below so that we cannot only learn how to utilize it but also master it. Basic Tree OutputThe tree command can be used in several ways, the most fundamental of which is: 
The output displays a tree structure of our current directory, showing all the folders, sub-folders and files. Display Contents of a Specific DirectoryIf we wish to list the files and subfolders of a certain directory rather than the current directory. In that case, we may use the following syntax to determine the path or directory name: Example: The following command will list all the files and sub-folders in the Pictures directory if any exist: 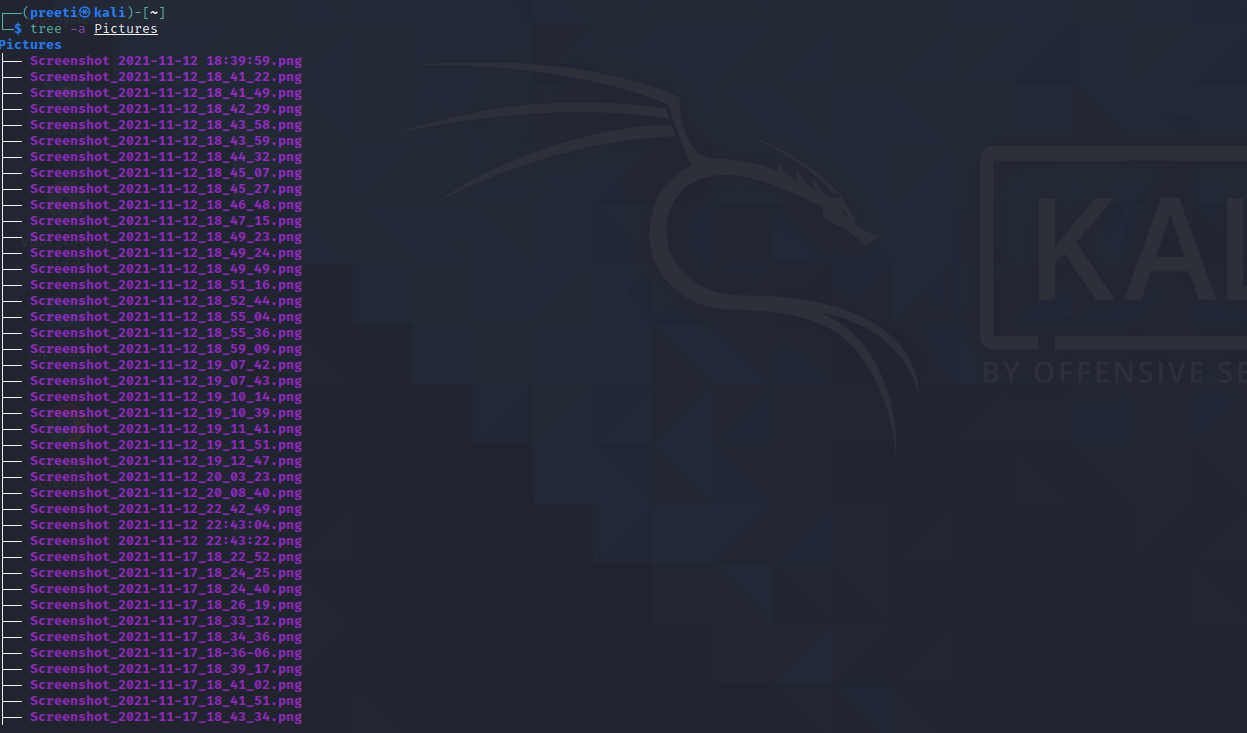
Display Only Directory Listing Through TreeIf we simply want to see the directory listing rather than the underlying files, we can use the "d" flag with the tree command: 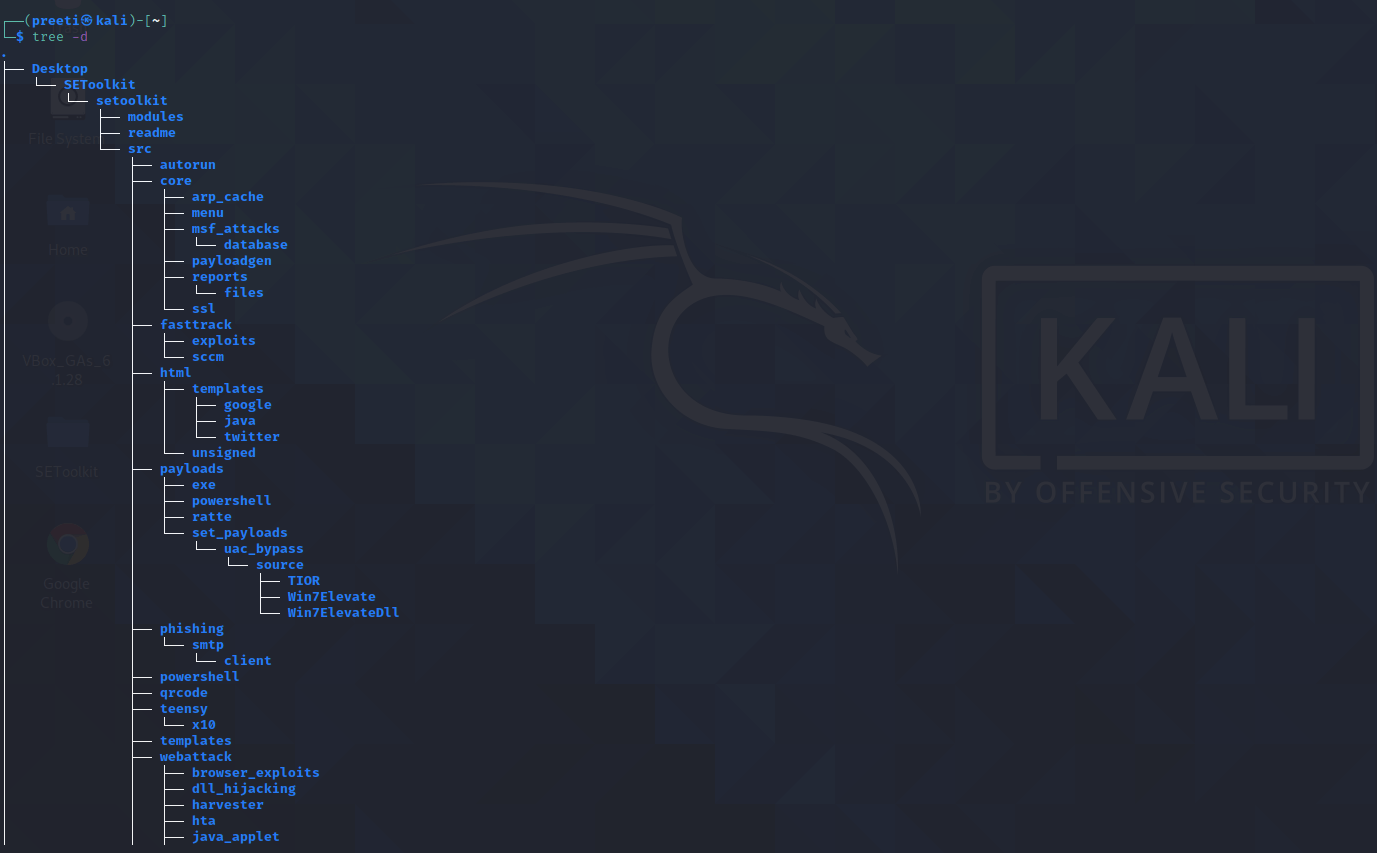
Display Full Path Prefix of Files and Folders Using TreeUsing the "f" flag, we can customize the tree flag to show the complete path as a prefix for all the files and folders listed. 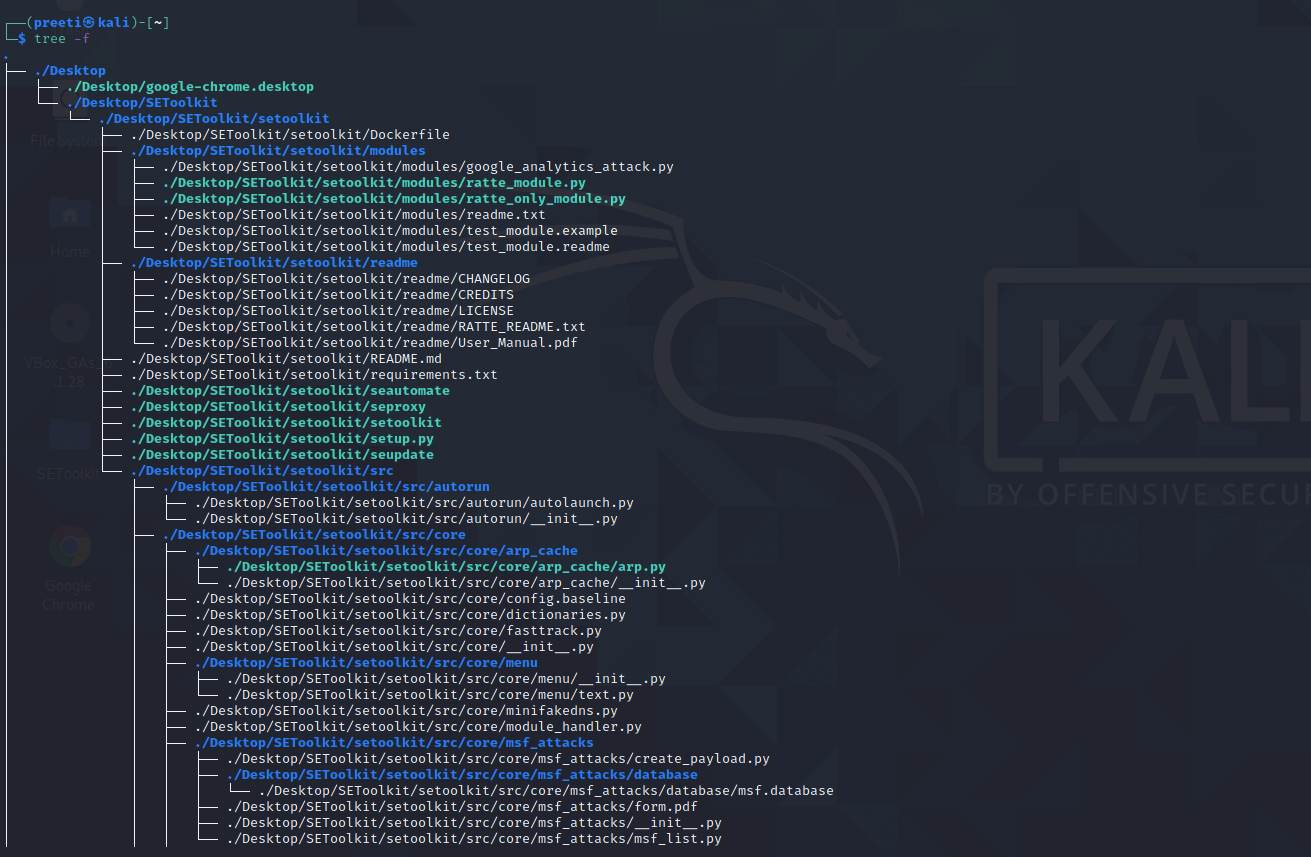
Display Size of Files and Folders Using TreeUsing the "s" flag, we can make the tree command print the size of all the files and folders in our directory in bytes. 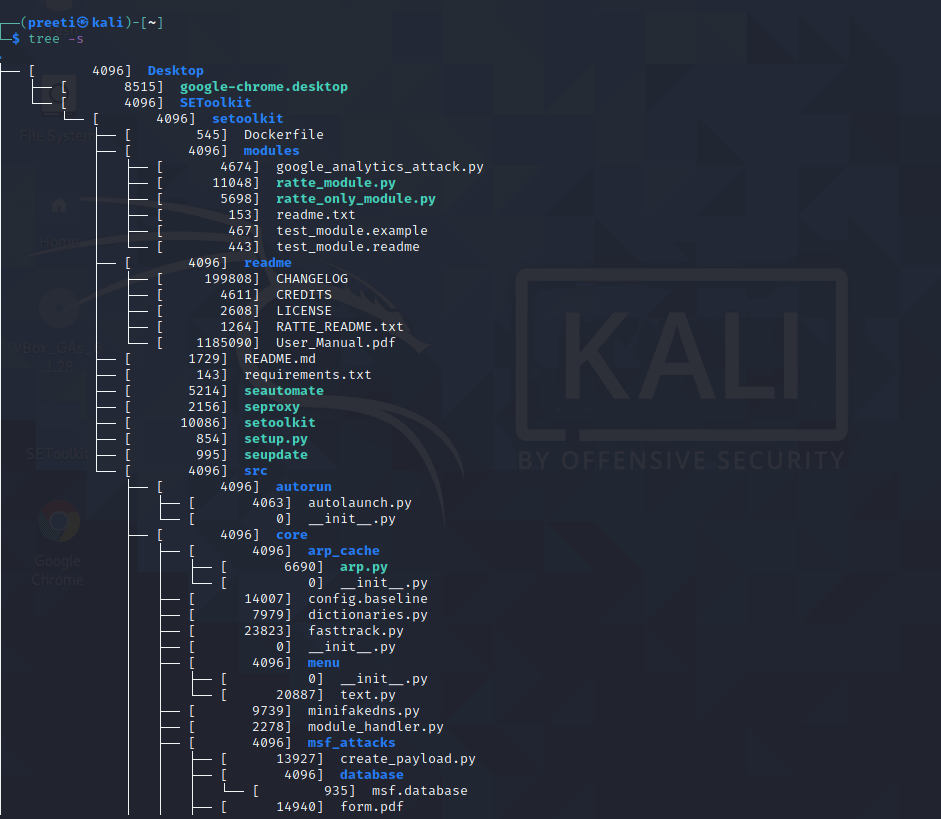
This helps us determine which items are taking a lot of space on our system and remove the ones that is not needed. Display read-write Permissions of Files and Folders Using Tree CommandWe can view the read, write and delete permissions on the listed files and folders using the "p" flag in our tree command: 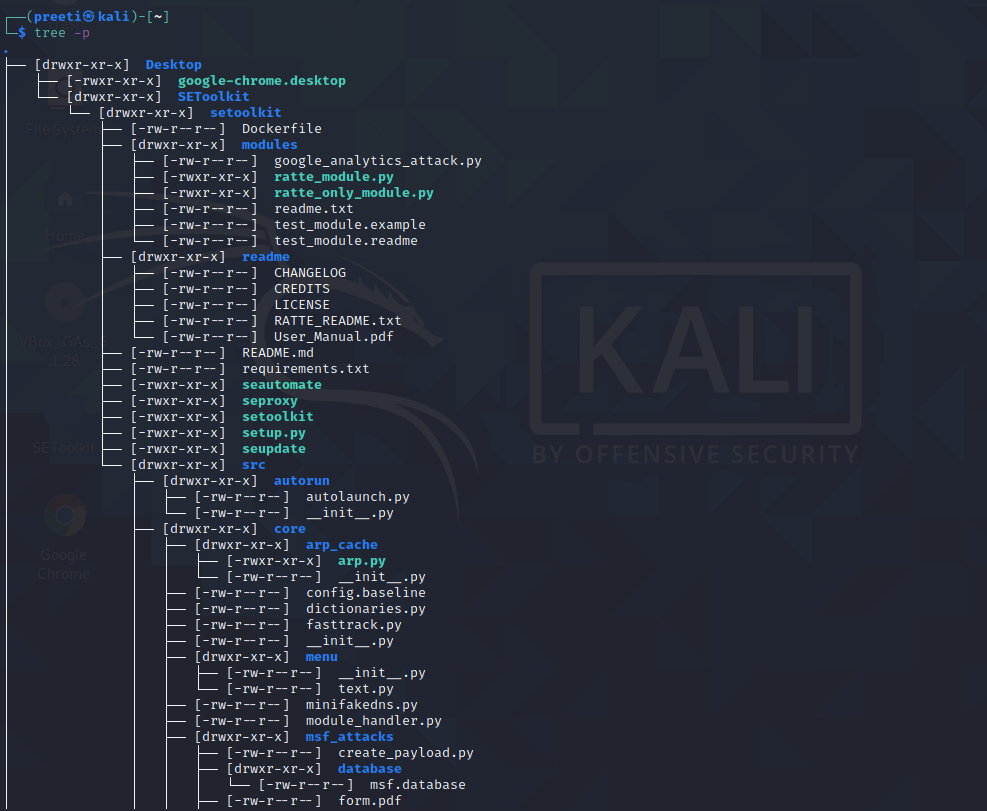
So, before we need to perform an operation on a file or folder, we should first understand and maybe alter the permissions we have on that item. List Folder Content till a Content Level/depth Through TreeWe can use the tree command in order to display the tree to a specific level or depth instead of listing all of the items in our directory. For example, level 1 in the tree command will only display the list of the given folder rather than any of its subfolders. The following is an example of how to use the syntax: Example With the "-d" parameter, the following command will only show the subdirectories of the current directory rather than the entire tree. 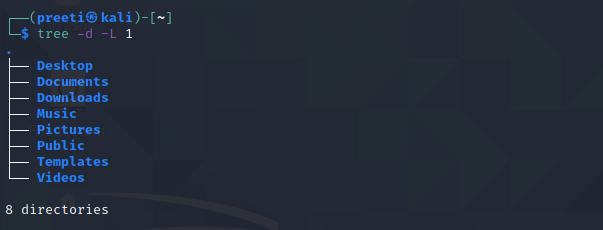
Tree HelpThe tree command is much more useful than the usage we have described. We can learn more about the command by viewing the help of the tree command as follows: 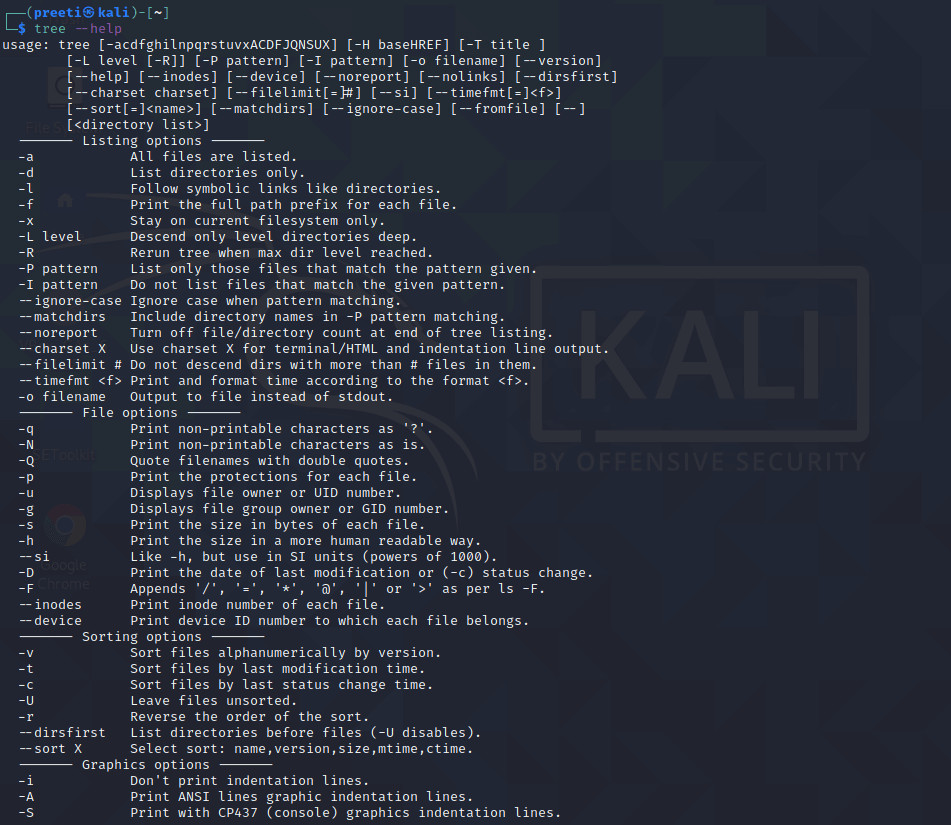
With the help of the flags, we described and also by using combinations of these flags, we can master the tree command even more! |
 For Videos Join Our Youtube Channel: Join Now
Feedback
- Send your Feedback to [email protected]
Help Others, Please Share


Javatpoint Services
JavaTpoint offers too many high quality services. Mail us on [email protected], to get more information about given services.
- Website Designing
- Website Development
- Java Development
- PHP Development
- WordPress
- Graphic Designing
- Logo
- Digital Marketing
- On Page and Off Page SEO
- PPC
- Content Development
- Corporate Training
- Classroom and Online Training
- Data Entry
Training For College Campus
JavaTpoint offers college campus training on Core Java, Advance Java, .Net, Android, Hadoop, PHP, Web Technology and Python. Please mail your requirement at [email protected]
Duration: 1 week to 2 week


