| |

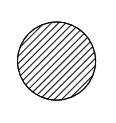
AutoCAD HatchThe Hatch command in AutoCAD is used to fill patterns inside an enclosed area. The patterns are hatched, gradient, and solid fill. The gradient patterns are defined as a smooth transition between two colors. There are several hatch patterns available in AutoCAD. We can choose the desired pattern from the list of the patterns according to the requirements. The number of hatch lines represented in any pattern can be adjusted with the help of the Hatch Pattern Scale. The Hatch Pattern Scale signifies the spacing between the lines in a particular pattern. Let's understand with few examples. Example 1: Consider the below image: 
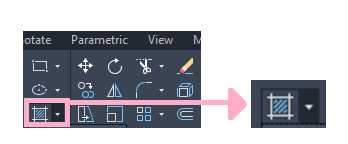
The steps to fill hatch pattern are listed below:
We can also select the desired patterns from the list of patterns, as shown below: 
The greater the hatch pattern Scale, the higher will be the distance between the lines in the hatch pattern. When we click on the arrow near the Hatch Icon, a drop-down list appears, as shown in the below image: 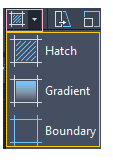
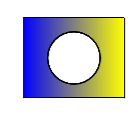
BoundaryThe Boundary command creates a separate region or polyline from the enclosed area. GradientLet's understand the gradient with an example: Example 1: Consider the below image: 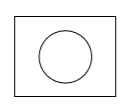
The steps are listed below:
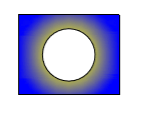
We can also select the desired patterns from the list of patterns, as shown below: 
Next TopicAutoCAD LineTypes
|
 Or
Or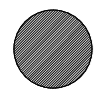
 For Videos Join Our Youtube Channel: Join Now
Feedback
- Send your Feedback to [email protected]
Help Others, Please Share


Javatpoint Services
JavaTpoint offers too many high quality services. Mail us on [email protected], to get more information about given services.
- Website Designing
- Website Development
- Java Development
- PHP Development
- WordPress
- Graphic Designing
- Logo
- Digital Marketing
- On Page and Off Page SEO
- PPC
- Content Development
- Corporate Training
- Classroom and Online Training
- Data Entry
Training For College Campus
JavaTpoint offers college campus training on Core Java, Advance Java, .Net, Android, Hadoop, PHP, Web Technology and Python. Please mail your requirement at [email protected]
Duration: 1 week to 2 week


