| |

ActivityIndicator ViewActivityIndicator is a kind of content view that can be used to show that a task is in progress. It is mainly used in-network calls. We can control the ActivityIndicator View by using methods defined in UIActivityIndicatorView class. UIActivityIndicatorView is the subclass of UIView. We can start the animation by calling the startAnimating() method of UIActivityIndicatorView class. Similarly, the stopAnimating() method can be used to stop the animation. The two methods are used in combination to show and hide the activity indicator in the iOS application. Adding UIActivityIndicatorView to interface
Methods and properties
Example 1This is a simple example that visualizes the activity indicator view on the screen. Interface Builder In this example, we will first add the ActivityIndicatorView to the storyboard. For this purpose, we will search for the UIActivityIndicatorView in the object library and drag the result to the storyboard. 
Define the auto-layout rules for the activity indicator and create the connection outlet in the view controller. 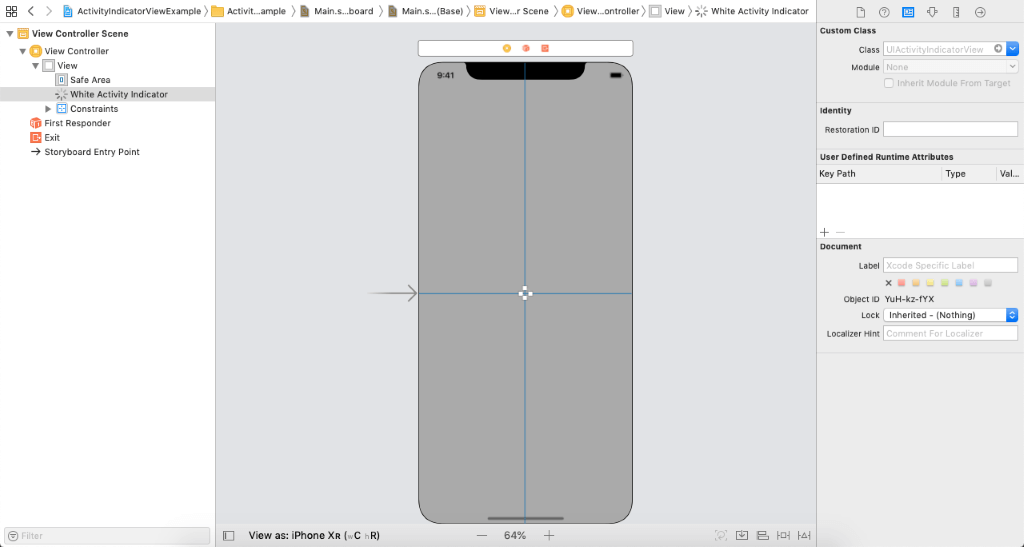
ViewController.swift Output: 
Example 2In Example1, we have displayed an uncontrolled UIActivityIndicatorView. In this example, we will create two buttons to start and stop the animation of the activity indicator. In the action outlet of the start button, we will start the animation, whereas, in the action outlet of the stop button, we will stop the animation. Interface Builder The following image shows the storyboard we will create in the example. This is similar to example 1 to most of the extent. In this example, we will also add the buttons to control the behavior of the Activity indicator view. 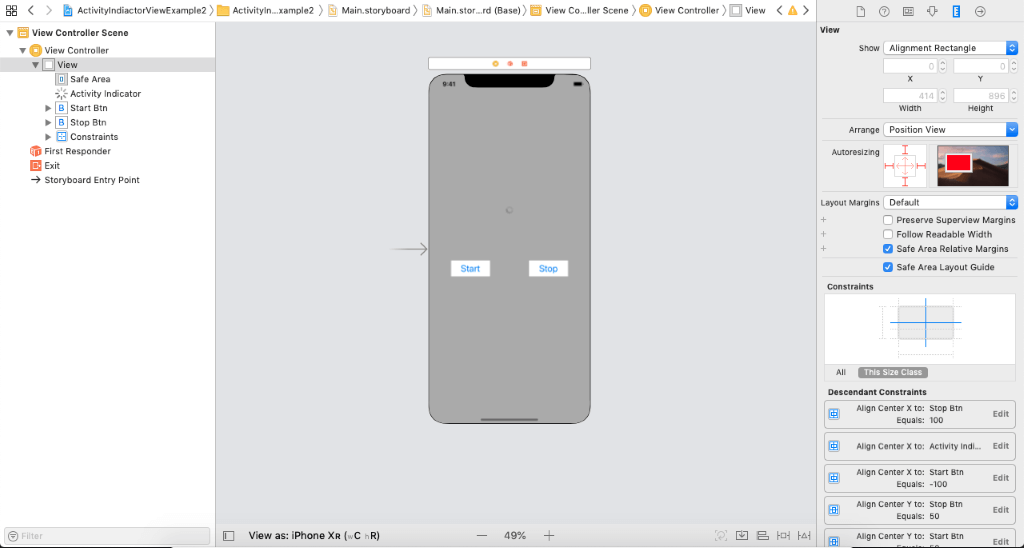
ViewController.swift Output: 
Next TopicImageView
|
 For Videos Join Our Youtube Channel: Join Now
Feedback
- Send your Feedback to [email protected]
Help Others, Please Share


Javatpoint Services
JavaTpoint offers too many high quality services. Mail us on [email protected], to get more information about given services.
- Website Designing
- Website Development
- Java Development
- PHP Development
- WordPress
- Graphic Designing
- Logo
- Digital Marketing
- On Page and Off Page SEO
- PPC
- Content Development
- Corporate Training
- Classroom and Online Training
- Data Entry
Training For College Campus
JavaTpoint offers college campus training on Core Java, Advance Java, .Net, Android, Hadoop, PHP, Web Technology and Python. Please mail your requirement at [email protected]
Duration: 1 week to 2 week


