TableViewTableView can be defined as the view which can arrange the data using rows in a single column. It is used in almost every iOS application, for example, contacts, facebook, Instagram, etc. The tableview is the instance of the UITableView class, which inherits the UIScrollView class. We will discuss UIScrollView in the upcoming chapters of this tutorial. In iOS applications, whenever we need to display the single column containing vertically scrolling content, we use tableview. The tableview can display multiple records (divided into rows), which can be scrolled vertically if needed. Each row of the tableview presents each record of the data source. For example, in the contact app, we display each contact name in the separate row of the tableview, and we get the details related to the contact on the click to that row. The below image shows how the tableview is used to display data in the settings app. 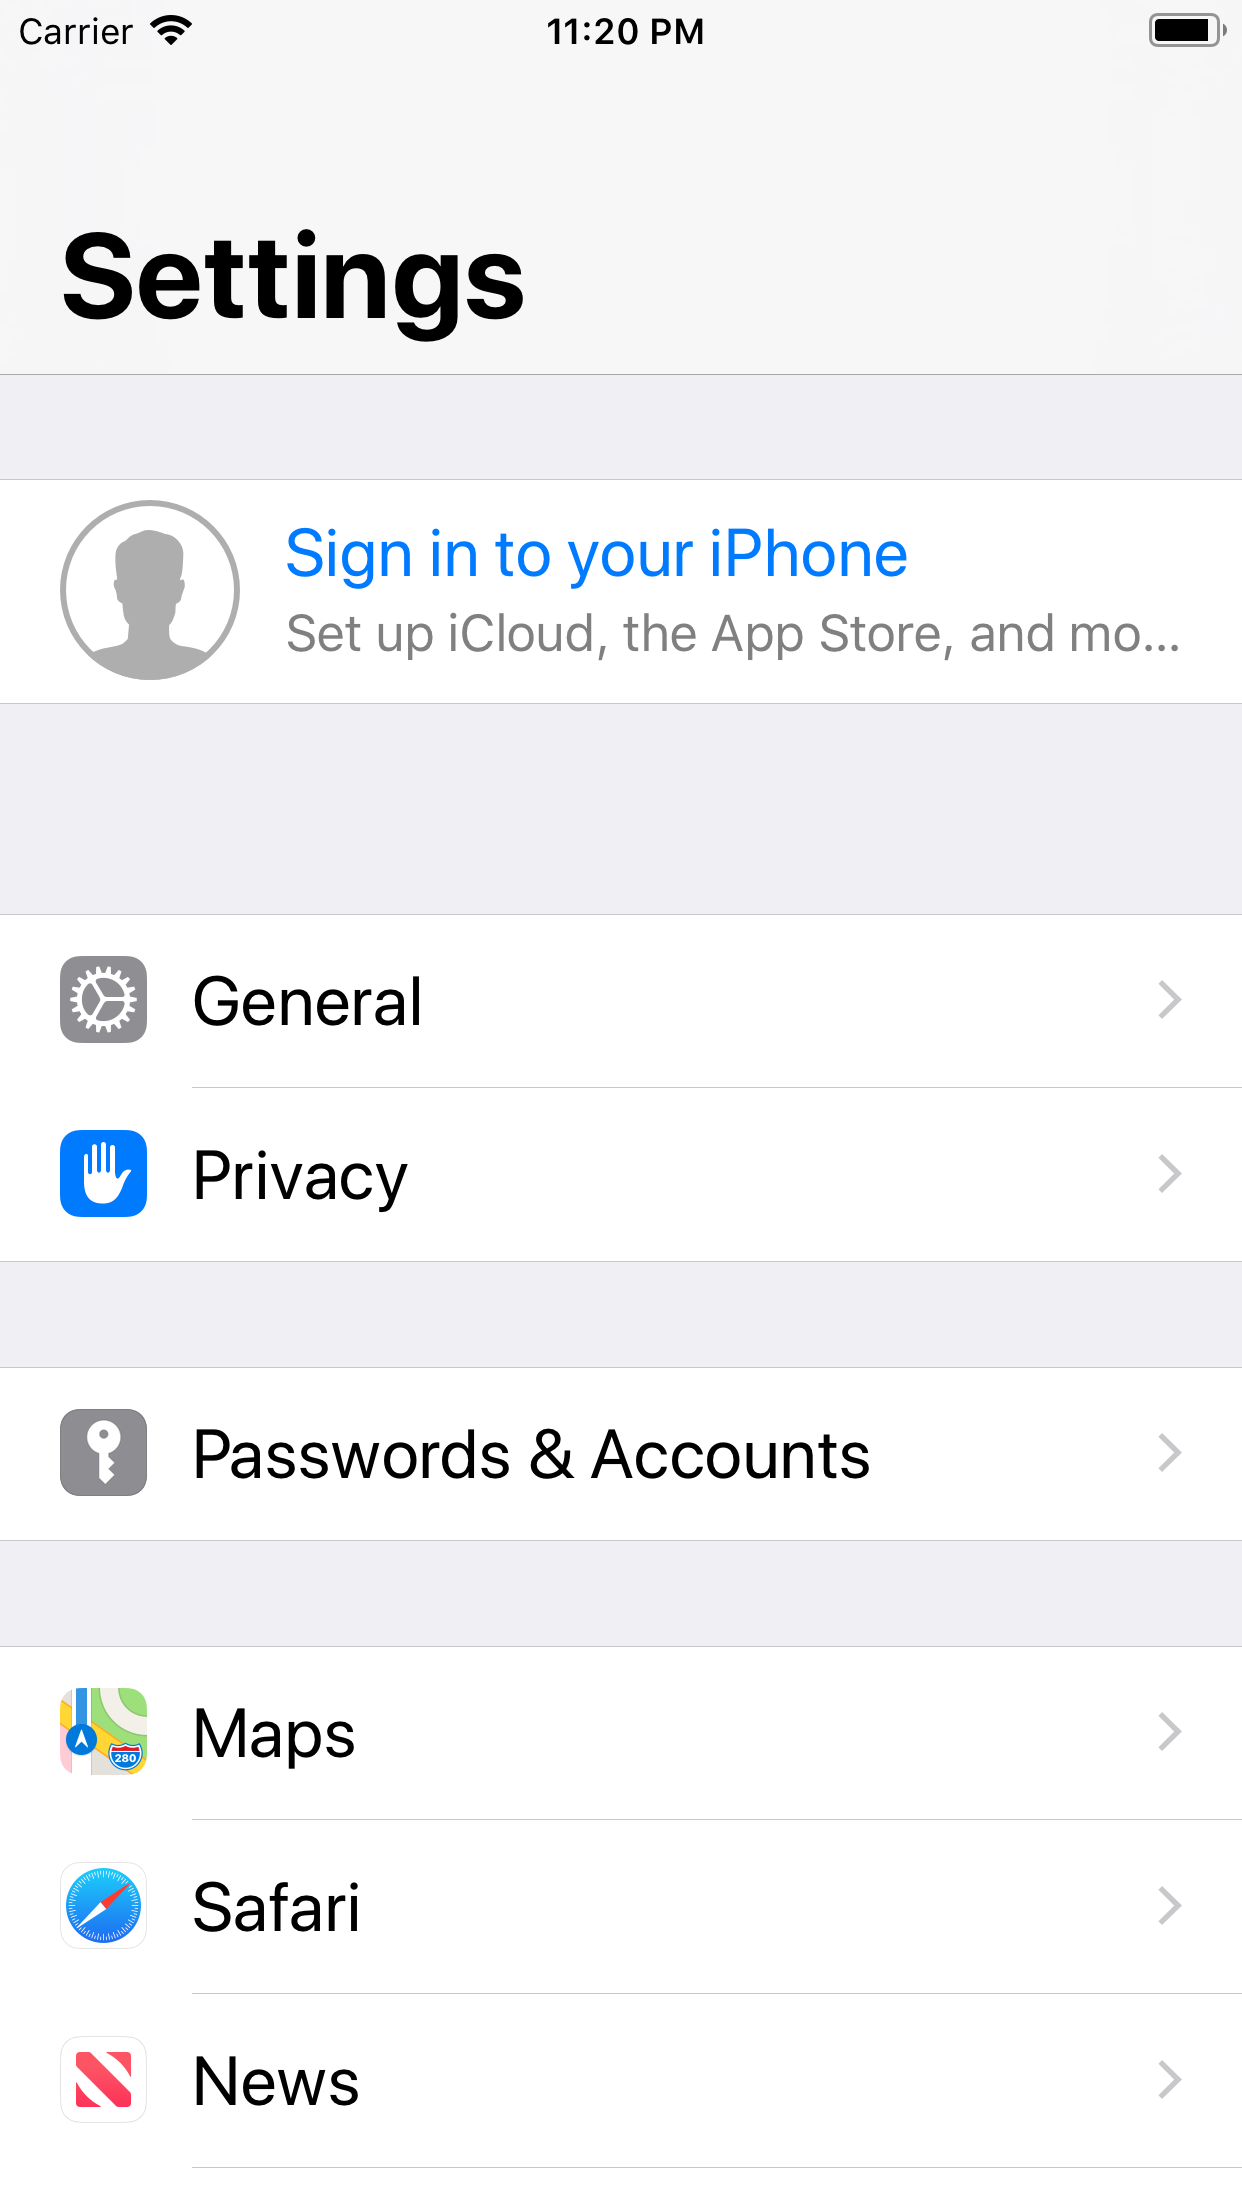
The below image shows how the tableview is used in the Contact app. 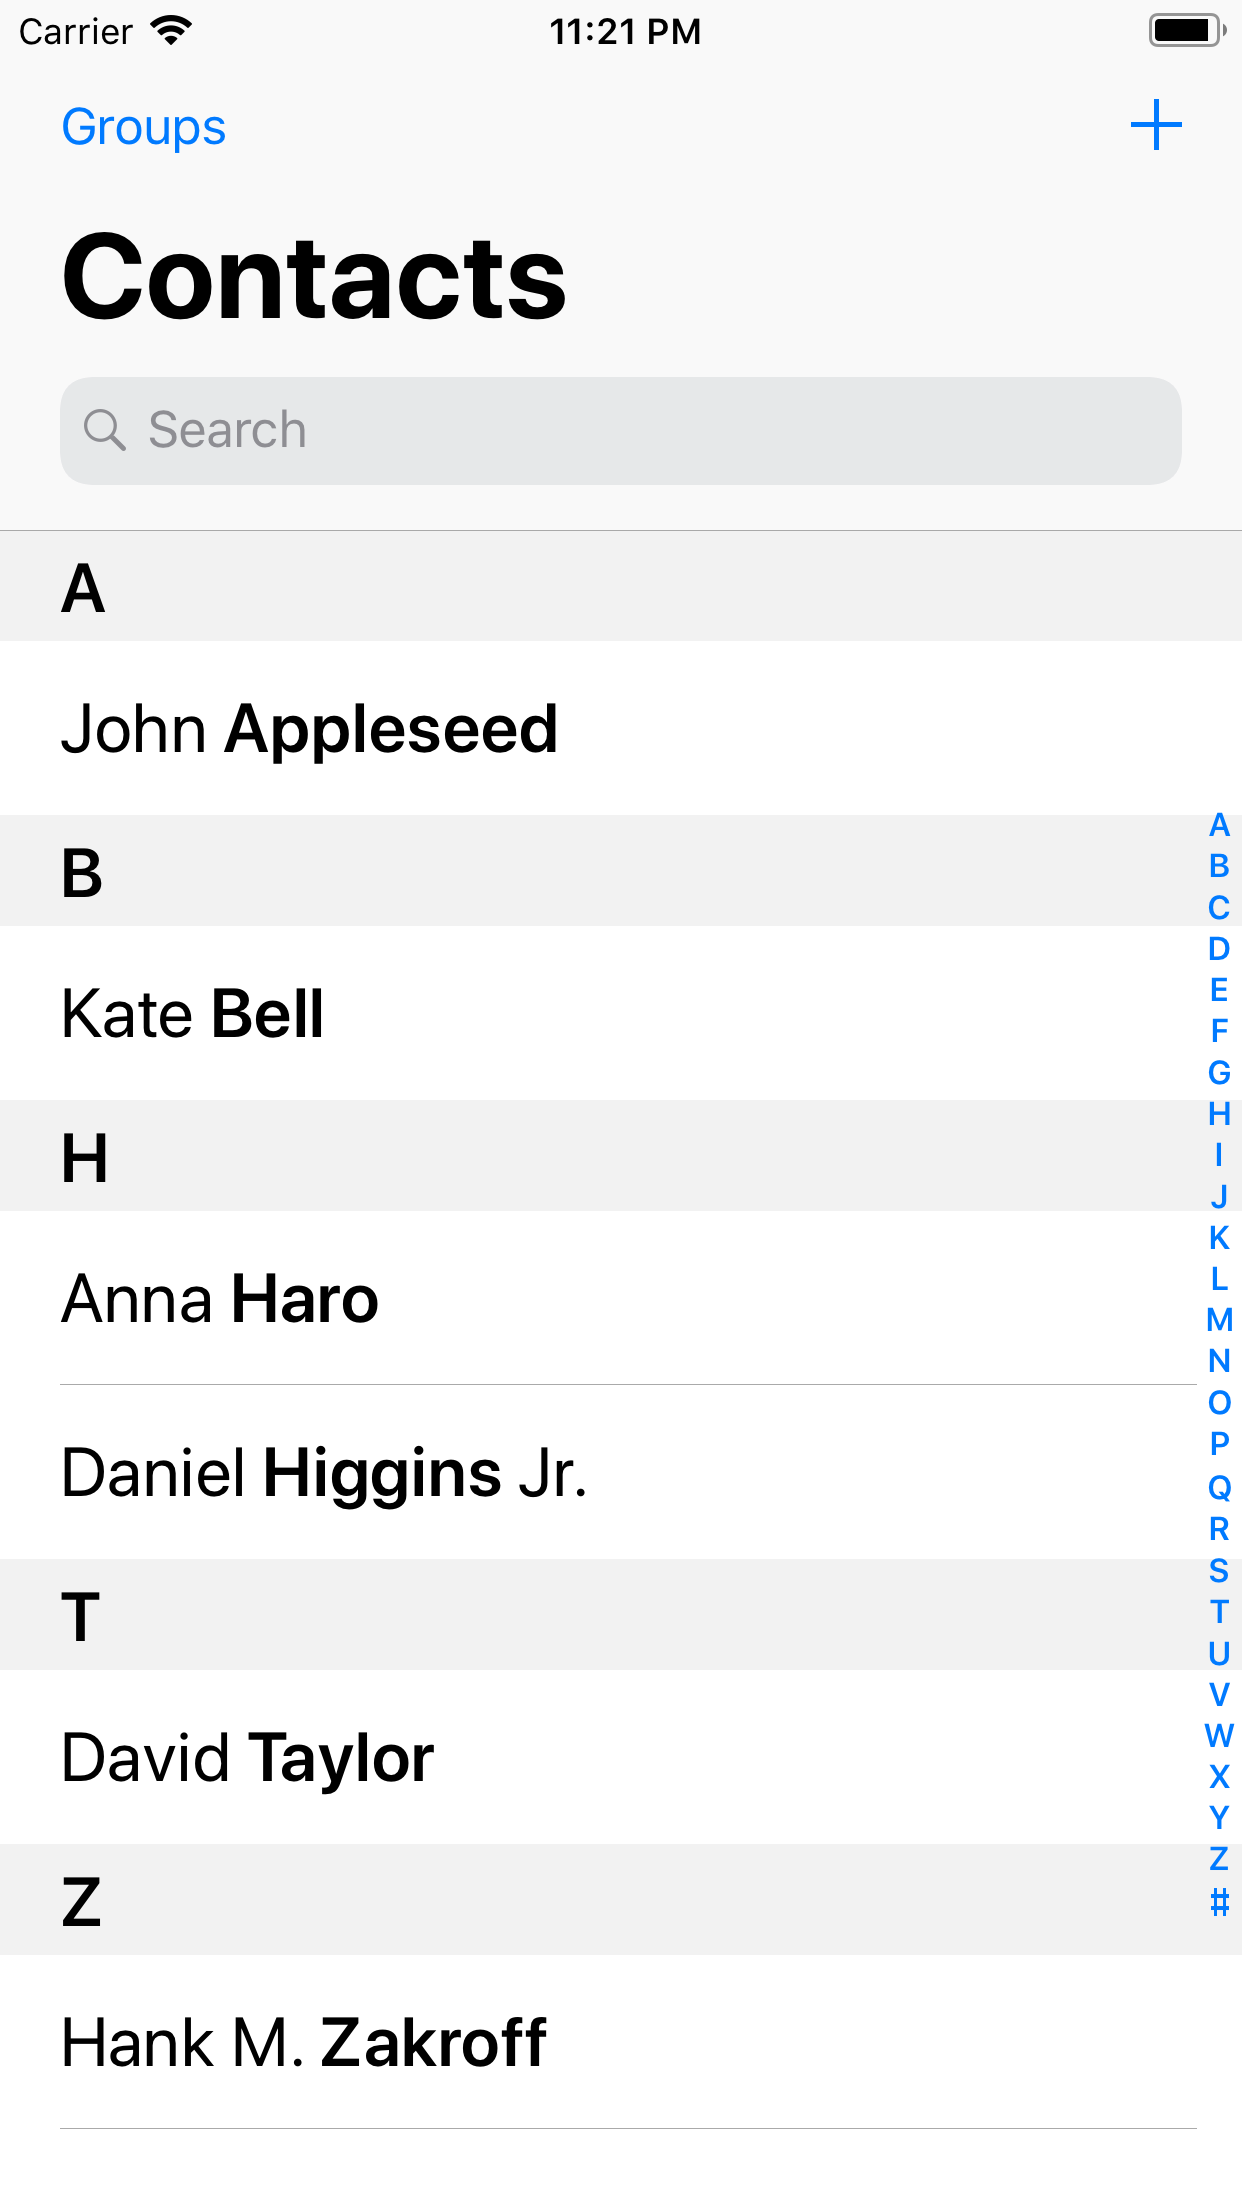
We can create the sections in the tableview to group the related rows, or we can show the long list of records in multiple rows without sections. In iOS applications, the tableview is used in the association with the navigation controller to organize the data hierarchically. Here, we can navigate between different levels of hierarchy using the navigation controller. The appearance of the tableview is managed by UITableView class, which inherits UIScrollView. In tableview, the row is simulated by the object of the UITableViewCell class, which can be used to display the actual content. We can customize the tableview cells to display any content in the iOS application. Adding UITableView to interfaceTo add the tableview to the storyboard, search for the Tableview in the object library and drag the result to the storyboard. 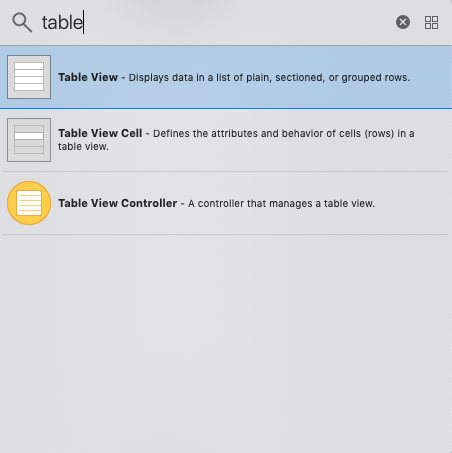
To use the tableview, we need to set its delegate and data source properties. The tableview is a data-driven object, i.e., it gets the data to be shown from the data source object. In the real-world applications, the data source object contains the data which is returned by an API call from the database server. The delegate and data source properties of the tableview can be set by using the following line of code in the viewDidLoad method of ViewController. TableView Delegate MethodsThe tableview delegate methods are defined to add the following features to the tableview.
TableView DataSource MethodsTo maintain the data to be displayed by the tableview, we need to maintain a DataSource object that implements the UITableViewDataSource protocol. The datasource object manages the tableview data. The datasource object performs the following main tasks.
To perform the above-mentioned tasks, there are some functions defined in the UITableviewDataSource protocol. The following table contains the important methods defined in the protocol.
There are two methods that are required to be defined if the ViewController implements the UITableViewDatasource protocol, which is mentioned in the following code. Example 1 In this example, we will create a simple tableview which displays a list of top 10 programming languages in 2019. In this example, we will use UITableView to create the interface builder and the delegate and datasource methods to set the data in the tableview. Interface BuilderIn this example, we will create the following view controller by adding the tableview to the interface builder. We will also use the label object to show the title of the tableview. We will add a prototype cell to this tableview and assign ViewController.swift class for this ViewController. 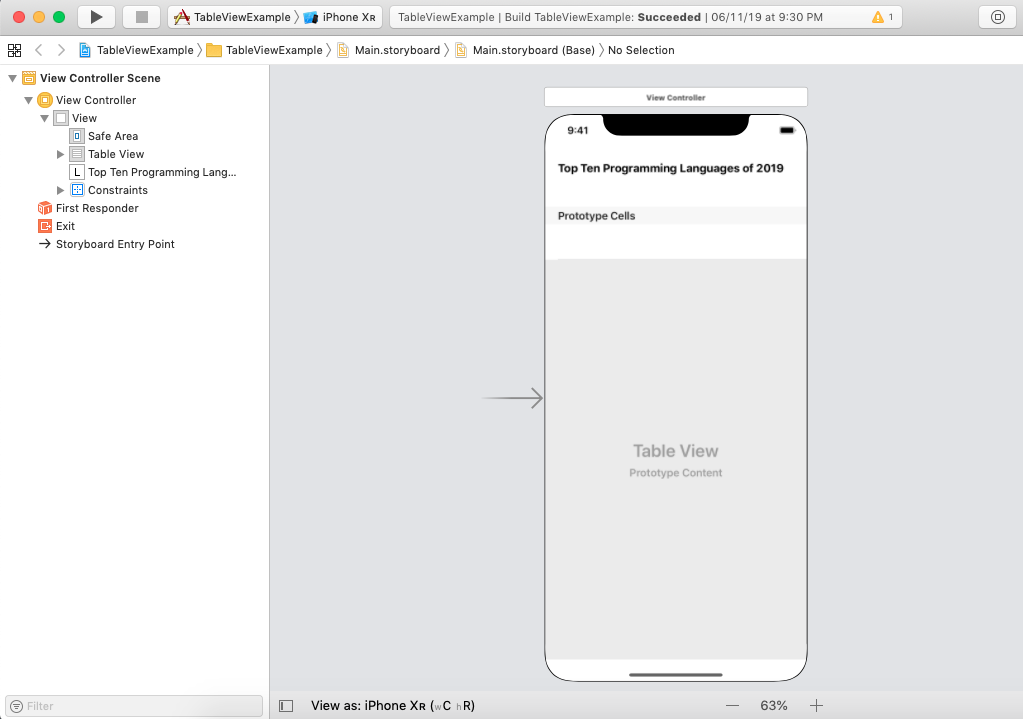
ViewController.swift In ViewController.swift, we will create the connection outlet of the tableview added to the storyboard. We will also define the delegate and datasource methods to display the tableview data. Output 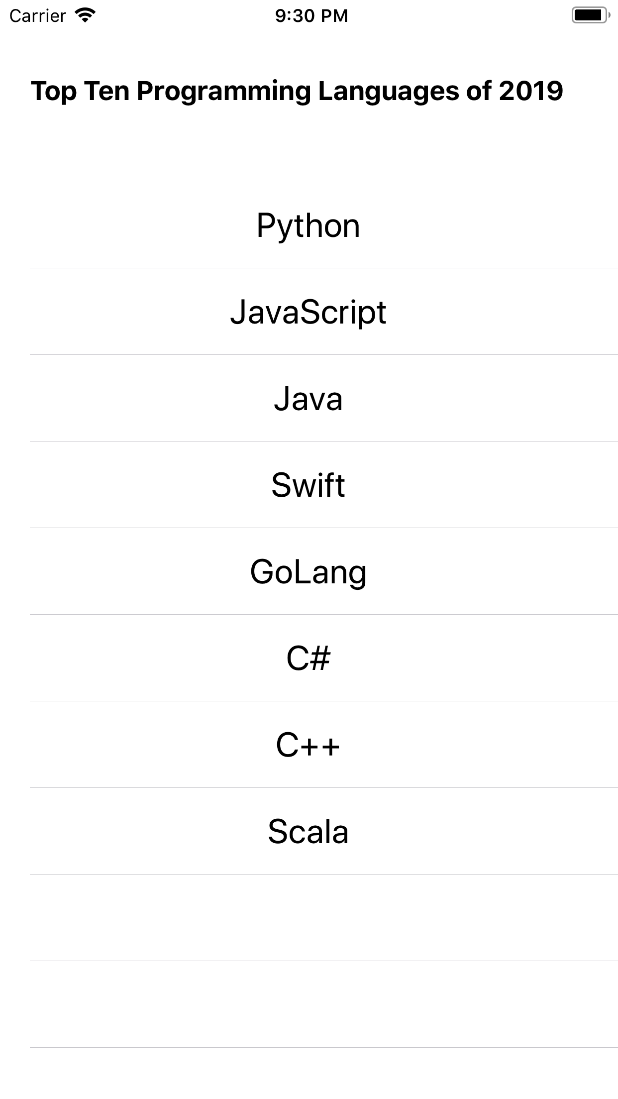
Example: Handling multiple sections in the tableview In this example, we will create the multiple sections in the tableview, and we will define the variable number of rows and row content depending upon the particular section. Interface Builder To create the interface builder for this example, we need to add a tableview and add a prototype cell for the tableview. The interface builder looks like the below image with a prototype cell. 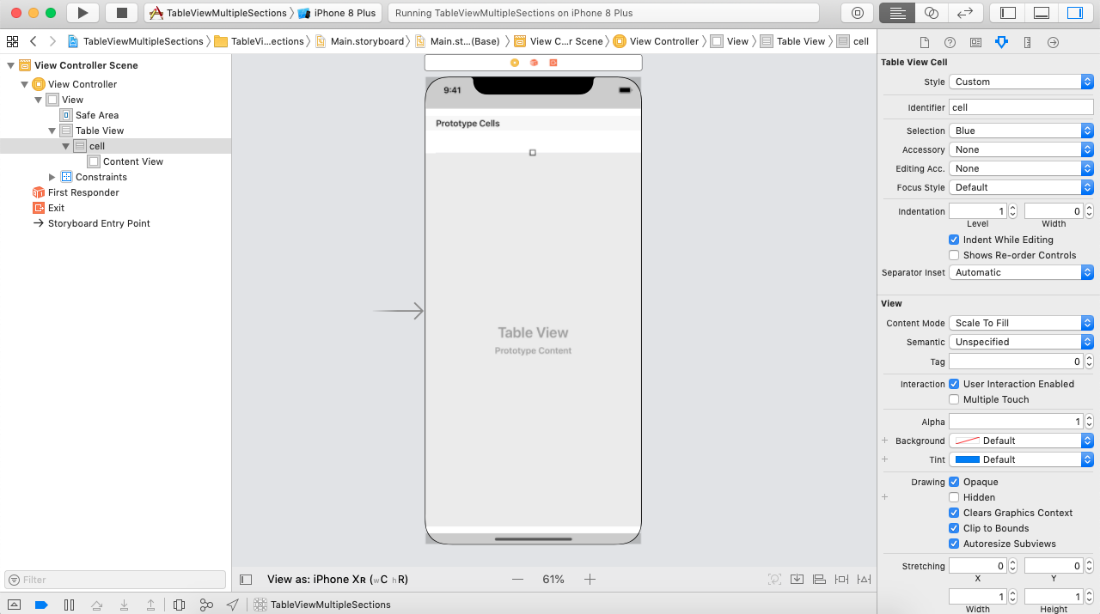
ViewController.swift Example 2: Customizing Table View cell In this example, we will customize the tableview cell by assigning it to a class and creating the outlets of the cell objects in that class. In most of the iOS applications, there are the requirements to customize the tableview class since we can-not always fulfill our requirements by just setting the label text of the cell. This example simulates the list view of the products shown in the ECommerce Application. Interface Builder To create the interface builder for this example, we need to add the tableview to the view controller and add the prototype cell into it. In the content view prototype cell, we will add a uiview to which, we will add an UIImageView and UILabel objects. The following image shows the storyboard in the example. 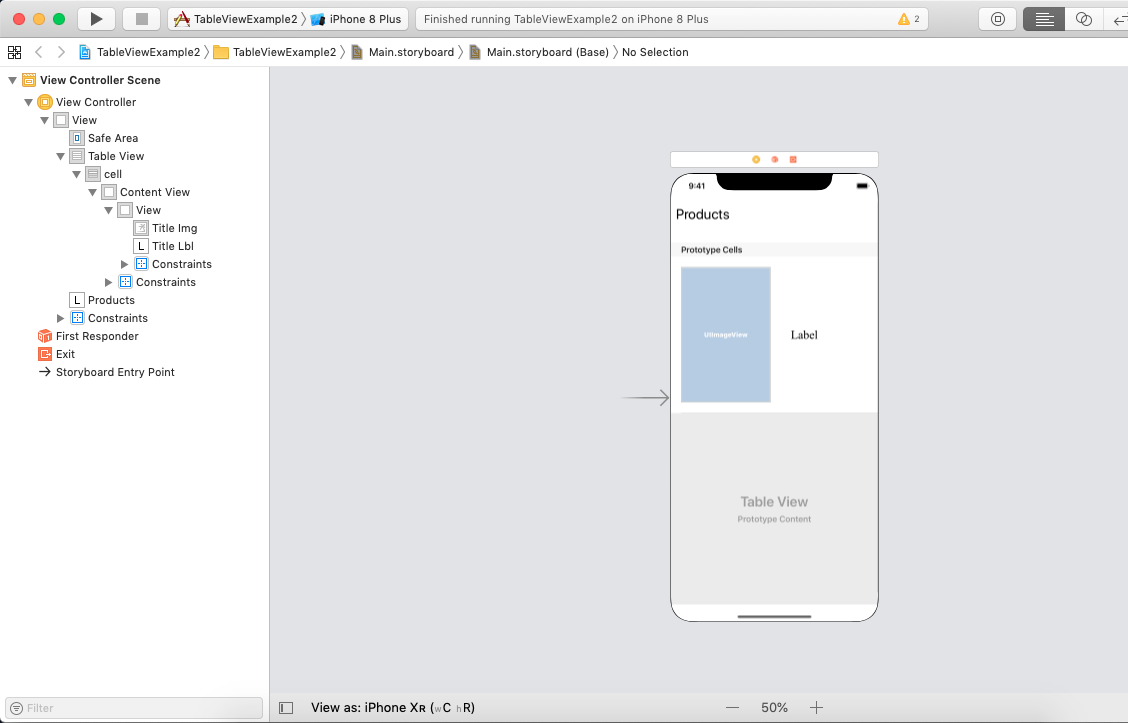
MyTableViewCell.swift MyTableViewCell inherits the UITableViewCell class, which is assigned to the prototype cell of the tableview. In this class, we can instantiate the image view and label objects. ViewController.swift 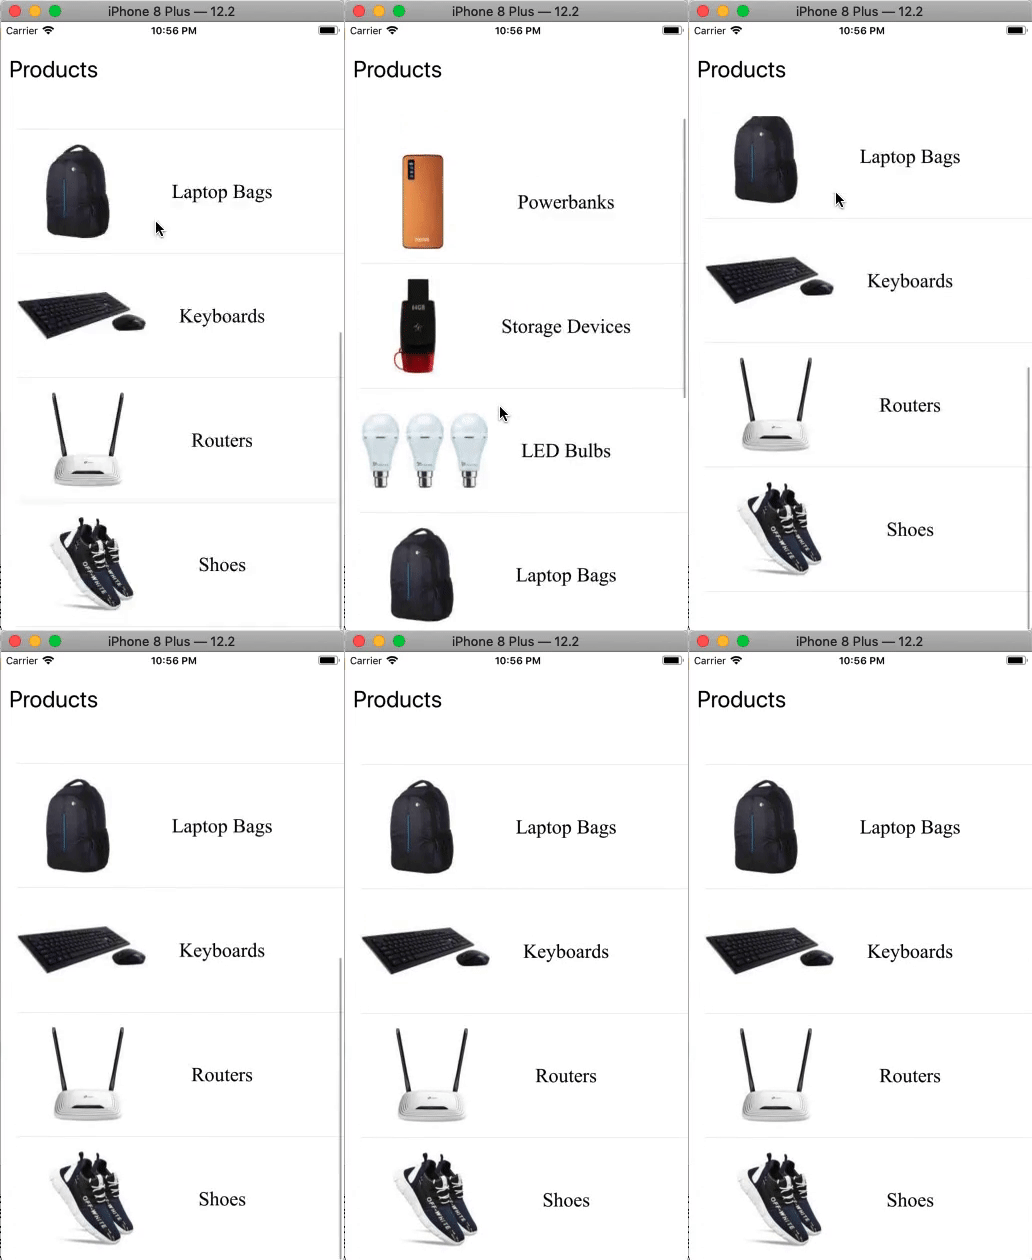
Next TopiciOS: CollectionView
|
 For Videos Join Our Youtube Channel: Join Now
Feedback
- Send your Feedback to [email protected]
Help Others, Please Share


