| |

ProgressViewIn iOS applications, the ProgressView is used to display the progress of the task over time. The ProgressView is the instance of UIProgressView, which inherits the UIView class. The ProgressView displays the progress bar where we can use the methods and properties of the UIProgressView class to manage its style. We can get and set the values that are pinned to the progress of a task. Properties and methods
Adding ProgressView to the Interface Builder.
ExampleIn this example, we will simulate the sign-up example in which we will prompt the user to register in the application by filling the name, email id, and password. When the user taps the submit button, we will show a progress bar to the user, which indicates that the user data is being saved in the database. Interface Builder To create the interface for the project, we will add four text fields with the sign-up label, and a submit button to the storyboard and define the auto-layout rules for them to govern their position and sizes as shown in the following image. 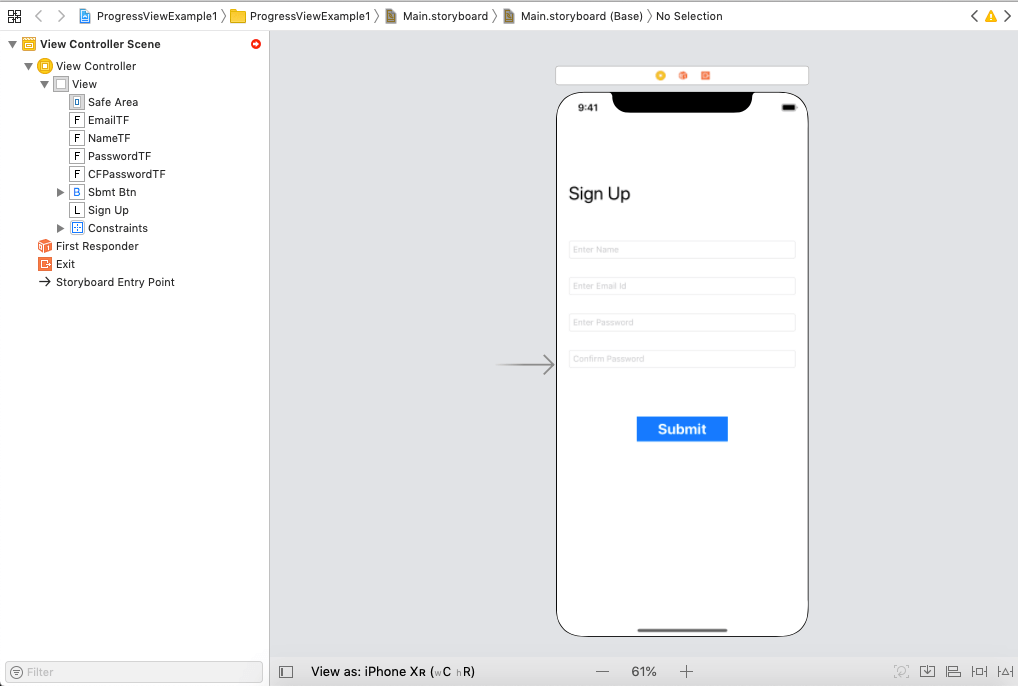
Now, let's add the progress view and a label to indicate the progress to the interface, as shown in the following image. 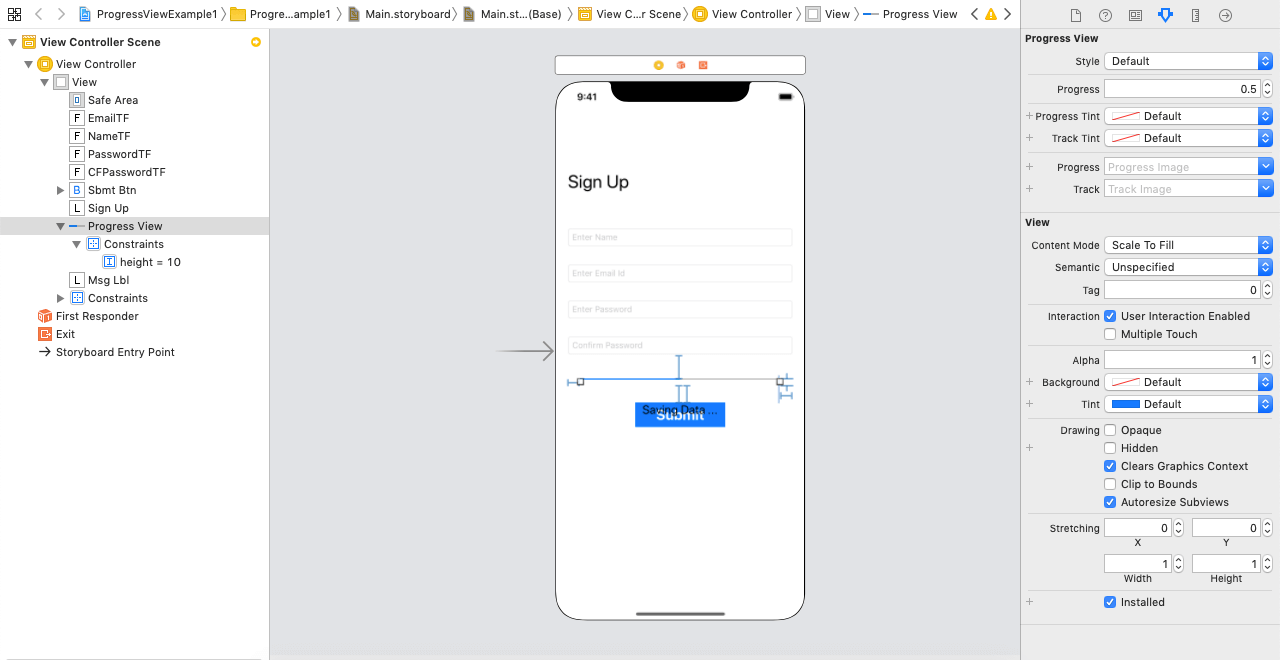
When the user taps on the submit button, we will execute a timer to represent the progress of the progress view. ViewController.swift Output: 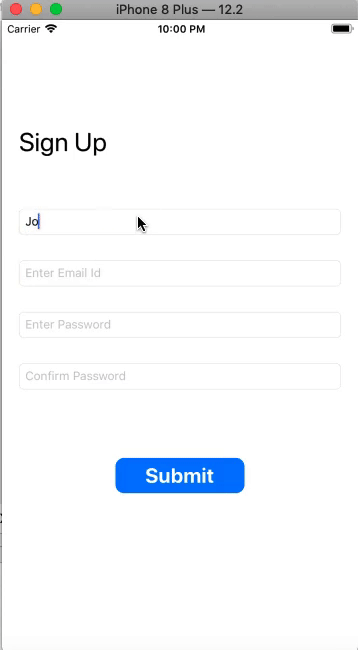
Next TopicWebView
|
 For Videos Join Our Youtube Channel: Join Now
Feedback
- Send your Feedback to [email protected]
Help Others, Please Share


Javatpoint Services
JavaTpoint offers too many high quality services. Mail us on [email protected], to get more information about given services.
- Website Designing
- Website Development
- Java Development
- PHP Development
- WordPress
- Graphic Designing
- Logo
- Digital Marketing
- On Page and Off Page SEO
- PPC
- Content Development
- Corporate Training
- Classroom and Online Training
- Data Entry
Training For College Campus
JavaTpoint offers college campus training on Core Java, Advance Java, .Net, Android, Hadoop, PHP, Web Technology and Python. Please mail your requirement at [email protected]
Duration: 1 week to 2 week


